
What a virtual environment is and what problem it solves
A virtual environment is a directory associated with a Python installation that maintains its own set of packages. The standard venv module lets you create one and, by default, isolates its packages from those installed in the base installation. This means each project can have independent dependencies rather than necessarily sharing one collection of packages across the whole computer. Official venv documentation
Imagine two projects: one requires a particular version of a library, while the other depends on a different version. Installing both versions in the same global environment can cause incompatibilities. With a separate environment for each project, each can install its packages without changing the other project's set. The main benefit is dependency isolation, not complete separation from the system or a guarantee that the project will run identically on every computer.
venv has been included in Python's standard library since Python 3.3. The environment is built on top of an existing Python installation, known as the base Python, and uses the interpreter version with which it was created. Therefore, creating an environment does not by itself install any version of Python the project might need: you first need to have the appropriate interpreter available. Official venv documentation
Check Python and prepare the project folder
Before creating the environment, open a terminal and check that Python is available. Command names can vary by operating system and installation method. On macOS and many Linux distributions, try python3 --version; on Windows, try py --version or python --version. If a command is not recognized, try the other available options and check which interpreter each one invokes. This guide does not assume that every computer has the same command.
Create or open the project folder and run the commands from there. A common name for the environment directory is .venv: the initial dot makes some file browsers display it as hidden, but it does not change how Python works. The Python Packaging User Guide also recommends working in a virtual environment when installing packages for a project. Python Packaging User Guide
Also check that you have permission to write to the folder and that the selected interpreter is the one you intend to use. If you have several installations, the output of --version can help reveal an unexpected choice. The environment inherits the version of Python used to create it, so it is worth settling this choice before installing packages.
The location from which you run the command matters because .venv will be created in the current folder. Keeping it inside the project makes it easier to identify which environment belongs to which project. If the folder already contains a .venv directory, check its contents and purpose before trying to create another environment at the same path. Choose the interpreter deliberately; the command name alone does not tell you which installation will be used on a computer with multiple Python versions.
Create the virtual environment on Windows, macOS, or Linux
The module is run as a Python module: -m venv tells the interpreter to invoke venv, and .venv is the directory that will be created. Use the command appropriate for your installation:
- Windows:
py -m venv .venv(if thepylauncher is unavailable, trypython -m venv .venv). - macOS or Linux:
python3 -m venv .venv(ifpython3is unavailable, check whetherpythonpoints to the interpreter you want).
The documentation explains that creation generates the destination directory and configuration files. Within the environment, executables are arranged differently depending on the platform: on Windows they are in Scripts, and on Unix-like systems such as macOS and Linux they are in bin. Official venv documentation Creation does not usually print a detailed confirmation; you can check the result by looking for .venv in the project folder. If the command fails, read the complete message before trying again: it may point to a missing interpreter, a folder without write permission, or an incomplete environment. Do not assume that repeating the same command will resolve the underlying cause. If the destination exists already, inspect it before deciding what to do, rather than removing files without checking their purpose. The command's structure remains the same across platforms, but the interpreter command you use and the resulting directory layout can differ. Keeping the environment directory within the project also makes the later activation commands easier to follow. Once created, the environment is ready to be activated using the script for your shell. These commands do not install project packages by themselves; installing them is a separate step performed after activation. This distinction helps keep environment creation, package installation, and running the project clear as separate parts of the workflow. If you are unsure which interpreter was invoked, return to the Python version check and confirm the installation before proceeding. This avoids building the project environment with an unintended Python version. No additional confirmation text is required for creation to have succeeded: the presence of the directory and its environment files is the practical check described here. A failure message, on the other hand, deserves attention before you continue. By checking the folder and reading the message, you can distinguish an environment creation issue from a later activation or package installation problem. The directory name .venv is conventional rather than a special requirement; in these examples it is the chosen destination, so use that same name in the subsequent commands. If you choose a different destination name, the paths used for activation must match it. The examples below assume that you kept .venv as the directory name. This keeps the commands consistent from creation through activation and later deactivation. The environment remains associated with the Python installation used to create it, which is why selecting that interpreter beforehand matters. The command creates a local environment in the current project folder; it does not make a copy of the entire operating system or replace Python's base installation. These limits are important when interpreting what “isolated” means in this context. The next step is to activate it in the terminal from which you plan to work. If you open a different terminal later, activation may need to be performed again there. This is expected behavior, not evidence that the environment has been deleted. The files remain in .venv until you remove them yourself.**
venv is therefore a per-project working area for packages, created with the Python interpreter you selected. The platform-specific executable folder explains why activation paths differ, even though the creation pattern is similar. After confirming the directory exists, continue with the activation command for your particular terminal.
Activate the environment, install packages, and run the project
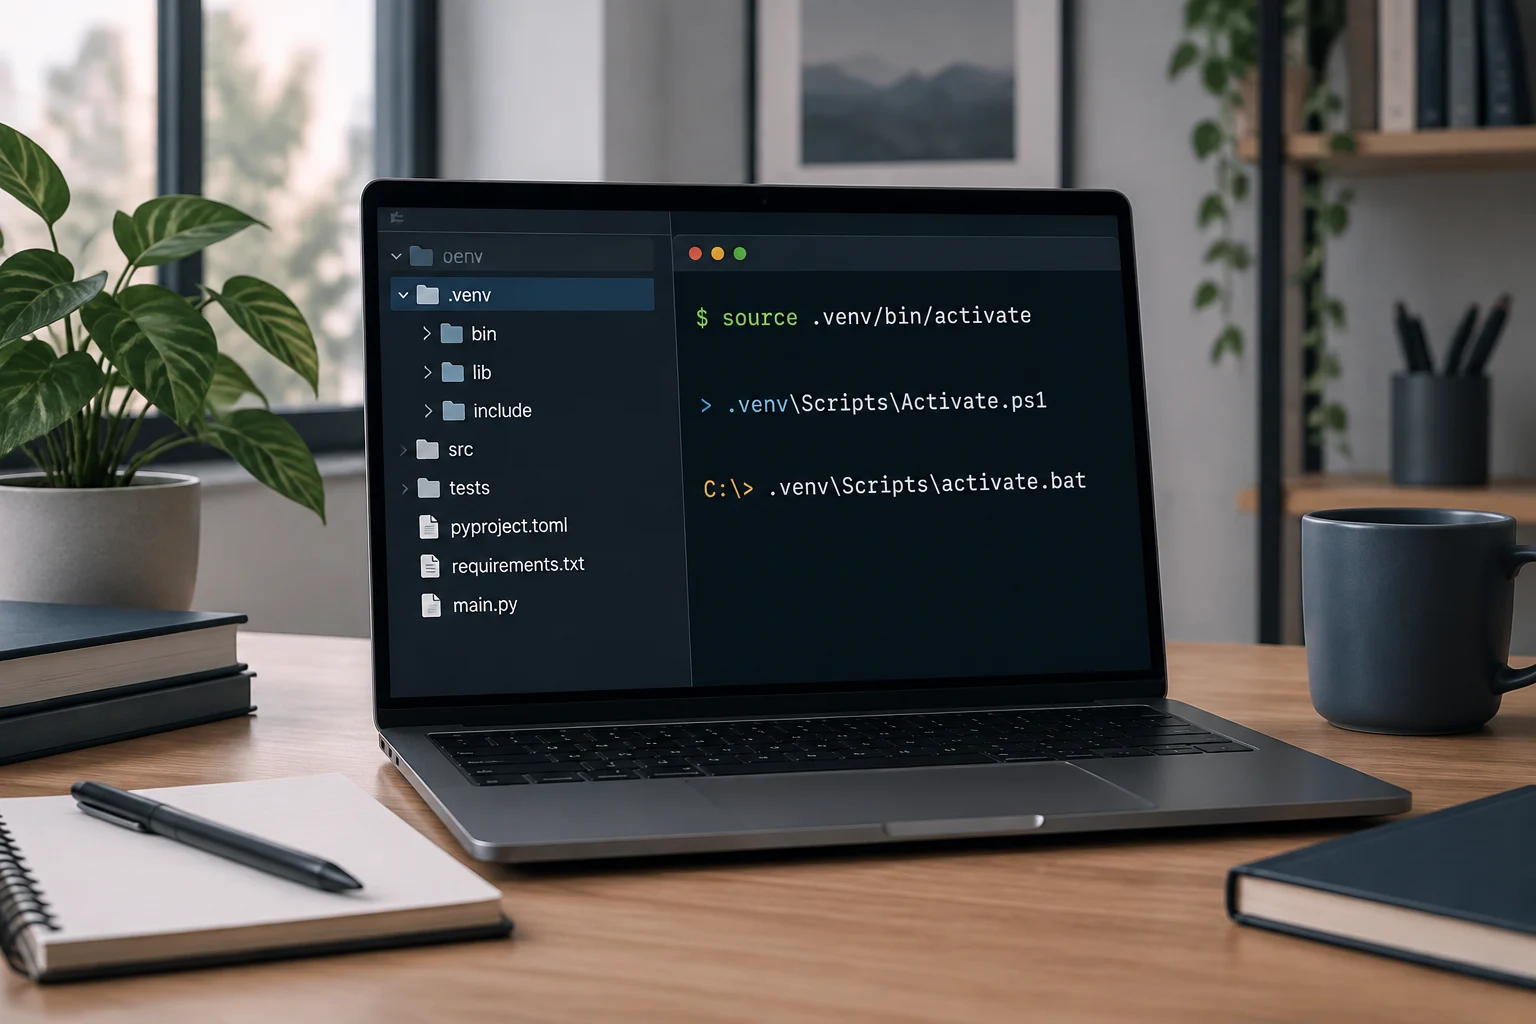
Once created, activate the environment using the script appropriate for the shell you are using. On macOS and Linux, from the project folder, run source .venv/bin/activate. On Windows, the command depends on the terminal: in PowerShell, use .venv\Scripts\Activate.ps1; in Command Prompt, use .venv\Scripts\activate.bat. Do not include a leading space when copying either command.
When activated, the terminal usually displays (.venv) at the start of the prompt. This is a useful sign, but it is not the only possible check. You can then install a library, for example with python -m pip install package-name. Running pip through the active python helps associate the installation with the selected interpreter. The packaging documentation describes installing packages with pip inside a virtual environment. Python Packaging User Guide
Run the program with python file.py, replacing file.py with the actual filename. To confirm which interpreter you are using, python --version reports its version; you can also check its path with python -c "import sys; print(sys.executable)". Install and run with the same environment active: this reduces the risk of installing a package in one installation and running the project with another.
The shell-specific activation command adjusts the current terminal session so that commands such as python use the environment's interpreter. That is why it is important to activate the environment in the terminal where you intend to install packages and run the project. If you open another terminal, do not assume it is already using the same environment: activate it there as well, then check the prompt or interpreter path. This small check can help explain why a package appears to be missing even though an installation command seemed to succeed. Use the actual filename when running your program, and keep the terminal in the project folder unless your project requires a different working directory. The examples are commands to enter in the terminal, not text to add to the Python file.
Deactivate, reactivate, and resolve common problems
To leave the active environment, type deactivate and press Enter. The command stops using the virtual environment in that terminal; it does not delete the .venv files or uninstall its packages. To return to work on the project, open a terminal in its folder and repeat the activation command for Windows, macOS, or Linux. Official venv documentation
If activation fails in PowerShell with a message about script execution, do not change the computer's security settings blindly. You can use another compatible terminal, such as Command Prompt, and consult the Windows Python documentation for installation-specific configuration. Microsoft Learn: Python on Windows If you see “command not found,” first confirm that you are in the project folder, .venv exists, and you typed the path for your platform.
If pip says a package is already installed but the program cannot find it, check sys.executable and the installation path: the terminal may not be using the expected environment. If creation fails because venv is unavailable, check your Python installation and its components; the details depend on how Python was installed. Do not delete a global installation as your first response.
When diagnosing a problem, separate the steps rather than changing several things at once. First verify the folder and environment directory, then check the interpreter path, and finally retry the relevant command. A prompt without (.venv) can be a useful clue, but checking sys.executable provides a direct way to see which interpreter the current python command invokes. Deactivation is reversible: it changes the terminal's active context, not the files stored in the project. Once you know which step failed, use the activation command that matches the operating system and shell instead of copying a command intended for a different terminal.
Save dependencies and understand the limitations
A virtual environment is a local isolation tool, not a project specification file. If another person needs to reconstruct the package set, record the dependencies in a file managed by the project. For simple projects using pip, a common workflow is to generate a list with python -m pip freeze > requirements.txt and, in another environment, install it with python -m pip install -r requirements.txt. The list reflects the packages installed and their versions at that moment; review whether it is suitable to share and maintain before treating it as a complete description of the project.
Do not include .venv in the repository: it is usually a local directory, potentially large, and tied to the originating system and interpreter. Instead, include the files that describe the project and its dependencies, according to the workflow the team uses. When cloning or copying the project to another computer, create a new environment with the appropriate Python version and install the recorded dependencies there.
venv isolation has deliberate limits. It is not a virtual machine or a container: it does not replace installing the interpreter, does not necessarily copy the entire operating system, and does not eliminate platform differences. Also, because the base installation remains outside the environment, a virtual environment does not replace security, updating, and version-management practices. For everyday use, the cycle is straightforward: move to the project, create .venv, activate it, install dependencies, run the program, and deactivate it when finished.
The environment itself is not the record that another person needs to reproduce the project's package set. A dependency file provides that record in a form that can be used when creating a fresh environment. The freeze command lists installed packages and versions at the time it is run, so its output should be considered and maintained rather than assumed to capture every aspect of a project. Likewise, keeping .venv out of the repository avoids treating a local environment directory as the shared project description. Recreating the environment on another computer means choosing a suitable Python installation and installing the dependencies there. This process preserves the distinction between project files, dependency records, and the local environment used to run the project. It also reinforces the central limitation: package isolation is useful, but it does not make different computers or operating systems identical.