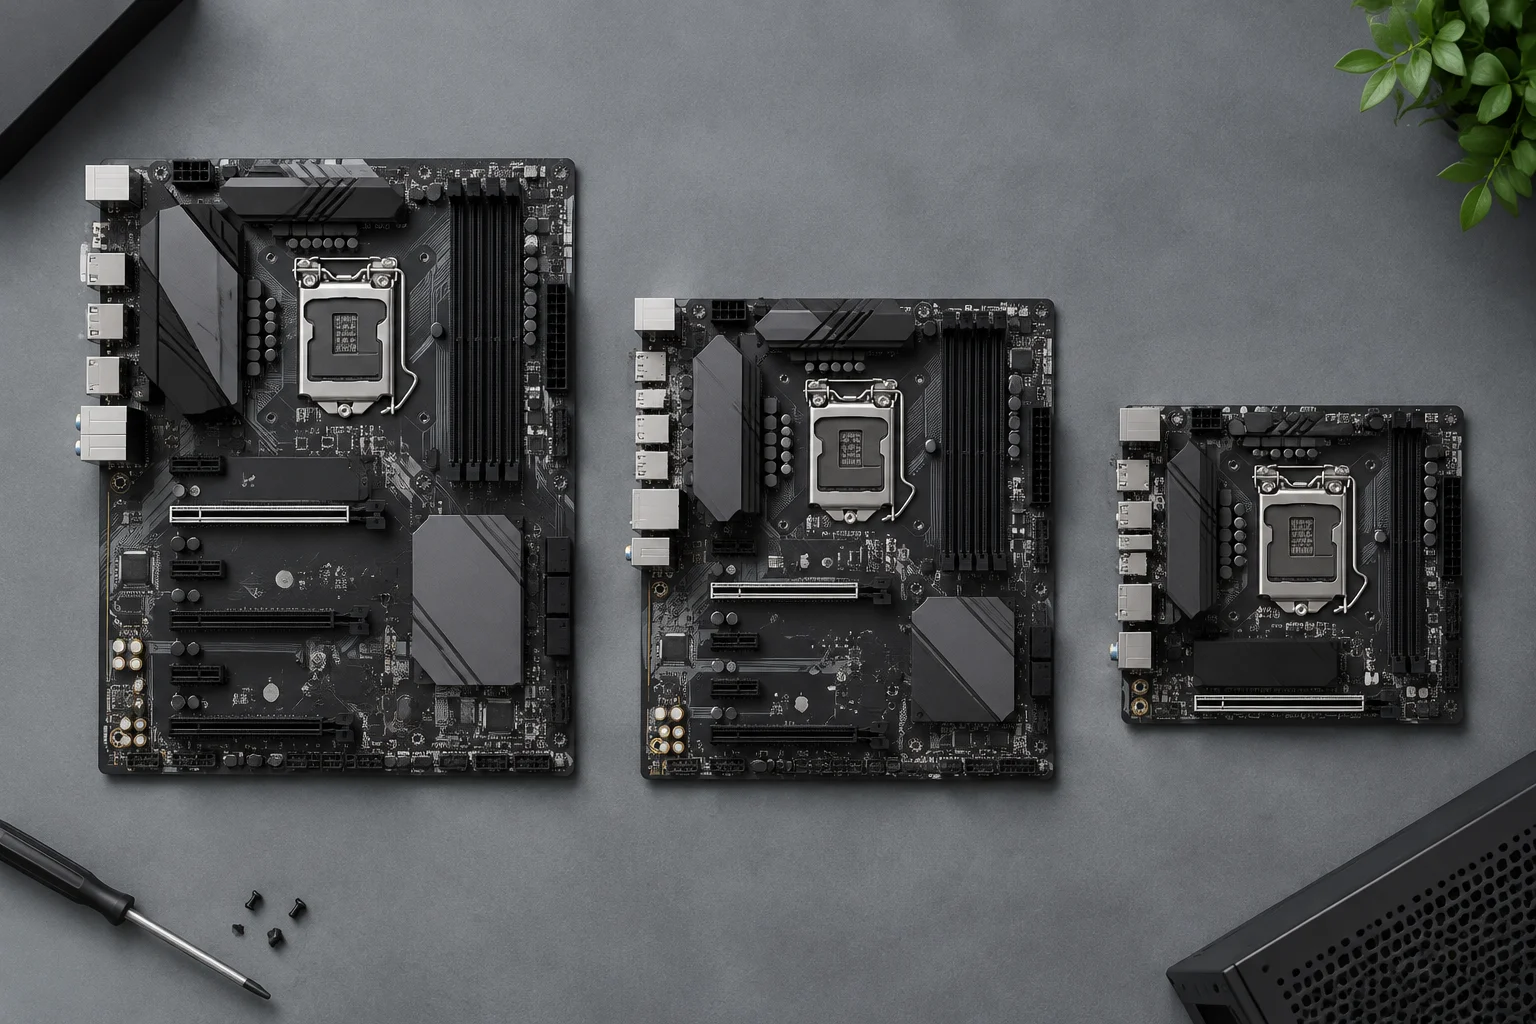
Form factor indicates size, not full capabilities
ATX, microATX and Mini-ITX primarily describe a motherboard’s physical size and certain aspects of its layout. They are useful references for identifying which motherboard families may fit a case and for making a general estimate of the space available for components and slots. They are not a performance scale: a larger motherboard does not automatically make the processor faster or guarantee better connectivity.
As a common reference, the approximate maximum dimensions associated with these form factors are 305 × 244 mm for ATX, 244 × 244 mm for microATX and 170 × 170 mm for Mini-ITX. Treat these as form-factor dimensions, not as a complete description of every product. The specification sheet for the specific motherboard should confirm its measurements and features; commercial names may also include variants or designs that are not captured by these three labels.
These figures help give an idea of the space each form factor occupies and provide a starting point for comparison with a case. However, they do not replace checking the exact dimensions and mounting points of the model. The placement of connections and components can vary between boards in the same family, so a reference measurement cannot tell you every detail of a product. Treat form factor as an initial filter, not a guarantee of complete compatibility. If the motherboard or case specification sheet provides more specific information, consult it before deciding.
ATX, microATX and Mini-ITX: practical differences
ATX takes up more surface area than microATX and Mini-ITX, and it usually leaves more room for arranging expansion slots. This can be useful if you expect to install several PCIe cards or other devices, but it does not guarantee a specific number of slots: their layout depends on the model. Count the physical slots listed in the specifications and check whether any share resources or may be blocked by a particularly thick graphics card.
A larger form factor may leave more room for placing components on the motherboard itself. Even so, how useful that space is depends on which devices you plan to install and how the slots are arranged. To compare two models, first identify the cards and drives you expect to use, then check that each has a suitable, accessible connection. The total number of slots alone does not tell you whether they can all be used at once in your planned configuration.
microATX has a smaller footprint than ATX and can suit builds that call for a less bulky case without necessarily giving up all expansion capacity. The number of available slots and connectors depends on the individual motherboard. Do not assume that every microATX model offers the same combination, or that a compact case compatible with microATX has the same free space as an ATX case. The label indicates which form factor the case supports, but not how much clearance will remain around each component or how straightforward the specific build will be.
Mini-ITX and choosing for your build
Mini-ITX is the smallest of the three form factors and generally prioritizes a compact build. Its smaller area means less room on the motherboard for arranging components; check the actual number of slots and connections for the specific model. A compact configuration may also require closer attention to the graphics card’s length and thickness, the cooler, the power supply and case ventilation.
The choice between form factors depends on the build’s needs and the available space, not on an automatic hierarchy between motherboards. If you plan to use several expansion cards, check the number and placement of the slots. If minimizing the computer’s size is the priority, pay closer attention to every component’s dimensions and the conditions needed to install it. Form factor guides the comparison; the model’s specifications determine whether it suits the intended use.
Check the case before assuming compatibility
The first comparison to make is between the form factor supported by the case and the motherboard’s form factor. Consult the compatibility section in the official case specifications and the official motherboard specifications. If the case lists ATX, microATX and Mini-ITX, that indicates the form factors the manufacturer says it can accommodate, but it does not by itself resolve whether there is enough room for every component.
Compare the exact form-factor name with the manufacturer’s list rather than inferring compatibility from appearance or approximate measurements alone. The specific motherboard’s specifications can confirm its dimensions, while the case specifications state which form factors that model supports. This initial check can rule out mismatched combinations before you review the rest of the system. If the specifications are unclear or appear contradictory, consult the manual or the manufacturer’s documentation.
Physical compatibility involves more than aligning mounting holes. Check the standoff positions, the opening for the rear panel and the clearance around the motherboard. Follow the case and motherboard manufacturers’ installation instructions; ASUS, for example, publishes an installation guide that recommends checking standoff locations and ensuring that no support points are left in inappropriate positions. Standoffs must be placed at the points intended for the specific motherboard; do not assume that any position will work just because the holes appear to line up.
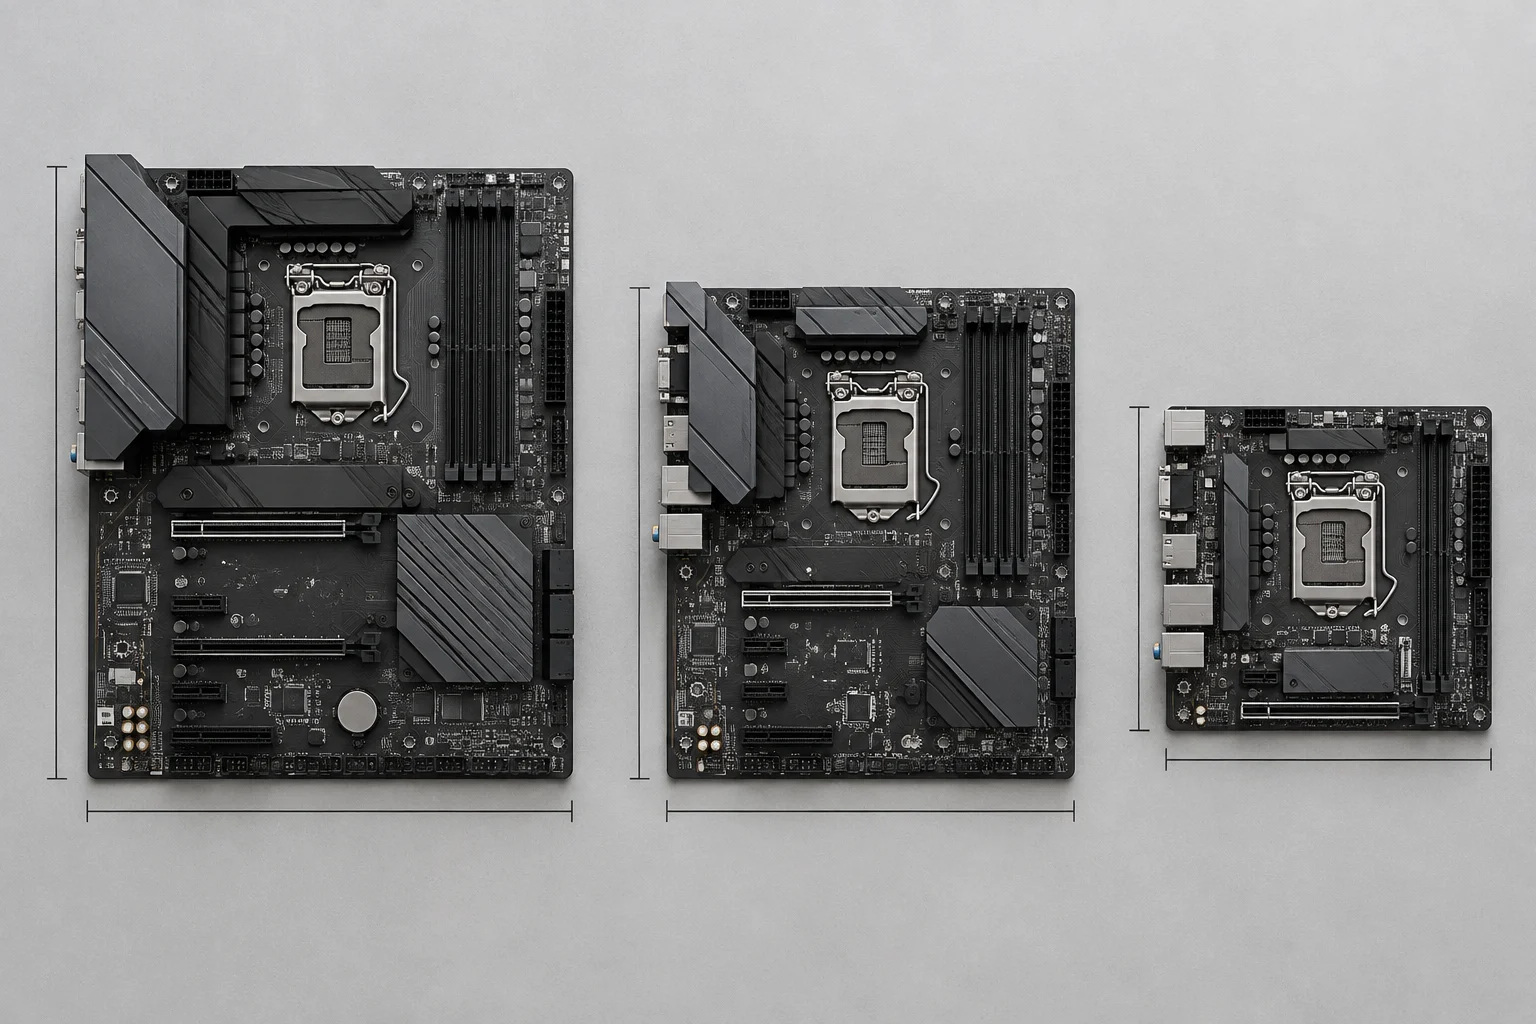
Check clearance for every component
Next, compare the restrictions that affect the whole build: maximum component length and height, drive-bay positions, room for radiators or fans, and space for routing cables. A case that supports a given form factor may still have limits that affect a graphics card, cooler or cooling system. “The motherboard fits” and “the complete build fits” are two different checks.
Make this assessment using the actual components you plan to install. A case may support the motherboard’s form factor yet have clearance limits that affect your chosen graphics card or cooler. Drive-bay placement and cooling hardware can also influence the build. Check that there is room to connect and route the required cables. Compatibility therefore cannot be verified by looking only at the motherboard-and-case pairing: the complete combination of parts matters.
Slots, storage and connections for your needs
First consider which devices you will connect, then consult the specifications for the motherboard you are considering. For expansion cards, check the number and type of PCIe slots, their physical size and the spacing between them. If you plan to use a graphics card, compare its dimensions and thickness with the motherboard’s slot layout: the form factor’s nominal size does not guarantee that two cards can be installed at the same time.
A list of planned devices makes the comparison more precise: note which cards you want to install and which slot each needs, then compare that with the layout shown in the specifications or manual. Counting slots is not enough if the position of one card or the thickness of another could interfere with installation. Check both the number and the location of slots, as well as whether they support your planned simultaneous use.
For storage, count the M.2 and SATA connections you actually need and check their operating conditions in the manual. On some designs, using one connection can disable another or cause resources to be shared. Do not assume that all connectors work simultaneously or that an M.2 drive of any length or type will be compatible: check the supported standard and the manufacturer’s stated limitations. If you intend to use several drives, review which combinations the motherboard supports and whether using one connection affects another. This makes the connector count a practical check rather than just a figure on a specification sheet.
Ports, headers and external devices
Also check the rear ports and internal connectors. A front-panel USB port on the case requires the corresponding motherboard header; a front audio connection or USB-C port may also depend on a specific header. Compare the case’s connection inventory with the motherboard’s headers before buying.
Do not confuse the ports visible on the rear with the internal connections needed for the front panel. The case may have front-facing connectors that can only be used if the motherboard has the corresponding header. Compare both inventories to establish which connections will be available once the computer is assembled and which will not match.
Also consider wired networking, Wi-Fi, audio and the number of USB ports in light of your actual use. The motherboard’s form factor does not tell you about these capabilities, so check them for the model you choose. If you need a particular connection or port type, confirm that it appears in the specifications instead of inferring it from the motherboard’s size.