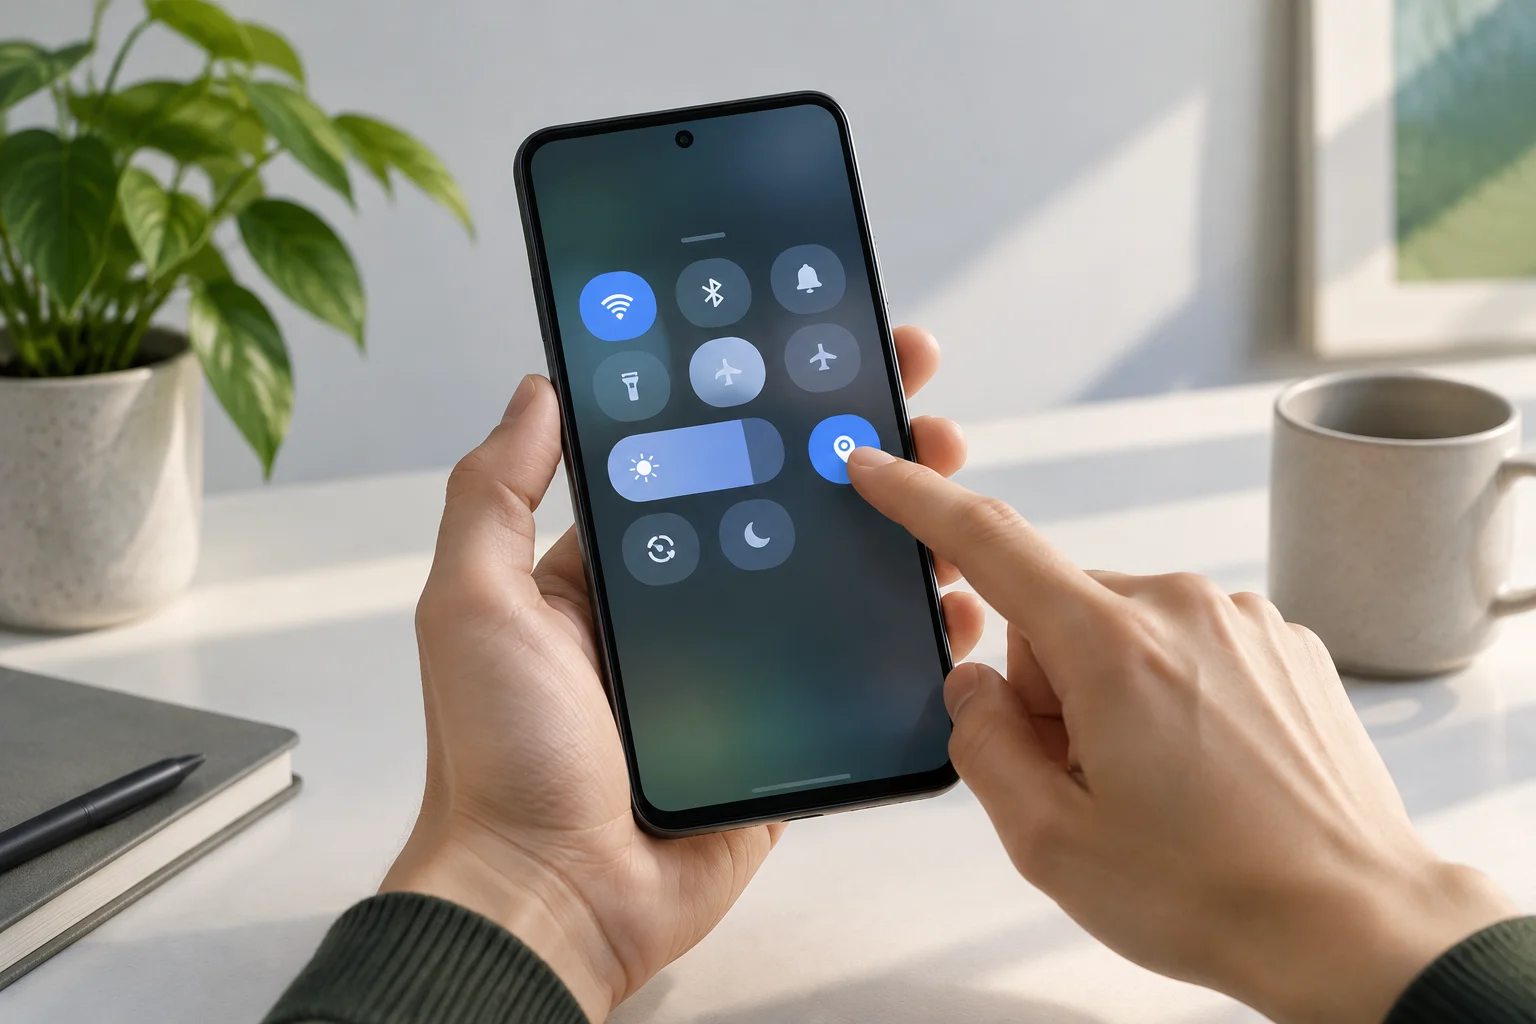
What Quick Settings are and when to use them
Quick Settings are controls available from the panel that appears when you swipe down from the top of the screen. They let you change some commonly used options without first finding their individual pages in Settings. Examples that may appear include Wi-Fi, Bluetooth, and Do Not Disturb; the exact selection depends on your phone and its configuration. Android Help explains how to access these controls, but does not guarantee that every model displays exactly the same items. Google: Change settings quickly
The panel is useful because it reduces the number of steps, not because it replaces every system setting. A control may turn a feature on or off, open a screen with additional options, or show a status. Before tapping a tile, check its name and any information shown alongside it. Do not assume that two similar-looking icons control the same thing: labels and behavior may differ between Android versions and manufacturer interfaces. Quick Settings is best treated as a way to reach selected controls, rather than as a complete map of the system.
This guide focuses on general operations described in Android Help: opening the panel, tapping controls, and adapting shortcuts when the interface allows it. It is not a universal description of every phone. If the instructions do not match what you see, consult the manufacturer’s help or check which version of Android is installed. This difference matters especially when editing the panel, since editing steps can appear in a different place or look different. Use the instructions on your actual device as your reference, rather than expecting every screen to match a general example.
Open the panel and identify its controls
Swipe down from the top edge of the screen to open the panel. On many phones, a second downward swipe shows a larger view with more controls. The precise way to move between these views can vary, so pay attention to how your device responds instead of assuming that its layout will match a screenshot you found online. If the first swipe does not show the control you need, expand the panel before concluding that it is unavailable.
Find the control by reading its label, not just by looking at its symbol. If you want to change a connection or turn on a particular feature, read the tile’s name before tapping it. The first tap may change the status directly; in some cases, the control opens a screen with more options. If what appears is not what you expected, close the panel or go back without changing other items. Checking the label first is especially useful when several controls have similar symbols or when you are unfamiliar with the panel.
It is useful to distinguish tapping to act from pressing and holding. Depending on the control and device, a long press may take you to additional related options. Not every tile behaves the same way, and an action that opens details on one phone may not do so on another. Treat the panel as a collection of shortcuts and check how each control responds before making it part of your routine. If you are unsure what a gesture will do, start with one control and observe the result before trying another.
Turn an option on and change its settings
To turn a feature on or off from the panel, open Quick Settings and tap the corresponding tile. Check the visual status or message displayed by the phone; do not rely only on a sound or a brief animation. If the control provides additional information, make sure that the setting you intended to change—and not a related one—is shown as active. Android Help describes how to use quick controls, but the details of each feature depend on what the device offers. Android Help
If you need to adjust more specific settings, open the relevant details screen or go to Settings and search for the feature by name. The panel is designed to provide quick access to certain controls; that does not mean every advanced option can be changed from a tile. For example, you may need to open a feature’s full settings page to choose a network, review permissions, or change preferences. If the panel does not show the specific option you need, do not keep tapping random tiles: find the setting by its name. Searching in Settings is a more direct way to locate options that are not exposed as a quick control.
A simple check can help prevent unintended changes: identify the control by name, tap it once, and see which indicator changes. If a screen opens, check its title before continuing. To undo the action, return to the same control and restore its previous state, provided you know what that state was. If you do not know the earlier state, check the setting’s details before changing it again; toggling it repeatedly could leave it configured differently from the way you intended. Take a moment to establish what changed instead of treating repeated taps as a way to find out.

Organize the panel and find a missing control
Some phones let you edit Quick Settings from the panel itself. Look for an edit option, usually represented by a button or an icon associated with modifying the panel, and follow the instructions shown by your phone. If a list of available controls opens, read their names and use the on-screen tools to add, remove, or reorder them. There is no editing sequence that can be promised for every brand and version: if you cannot find the option, consult the manufacturer’s guide or help for your model. The appearance of an edit control and the way it works are not necessarily the same across devices.
A control that is not immediately visible may be on a later page of the panel, in the editing area, or in a section of Settings. Scroll through the panel before deciding that the feature is unavailable. If it is not in the edit list either, search for the feature’s name in Settings. The absence of a tile does not by itself prove that the phone lacks the capability: the option may be in another menu, depend on the software, or be unavailable on that particular device. These are different possibilities, so check the menus available on your phone rather than drawing a conclusion from the first view alone.
Organize the panel around tasks you actually repeat. Put controls you use frequently where they are easy to find, and avoid adding shortcuts just because they are available. A shorter selection is often easier to recognize than a list in which every item competes for attention. If the system lets you change the order, place your usual shortcuts where they are most convenient and review the result after closing the editor. This is a practical way to think about organization, not an official recommendation for an ideal number of tiles. What matters is whether you can identify and reach the controls you use without unnecessary searching.
Check your changes and handle differences between phones
After changing an option, close and reopen the panel to check that the control shows the expected state. If the setting affects a particular activity, confirm the result there too: a change in the tile’s appearance is not always enough to tell you whether the configuration you wanted was applied. If the result is not what you expected, open the feature’s details and check its status. To undo the change, return the control to its previous position or use the reset option provided by the menu. Check what the control represents before attempting to reverse it, particularly if you did not note its initial state.
If menu names do not match this guide, try searching for the feature in Settings and consult the manufacturer’s instructions. Google’s general help is a starting point for Android controls, not a complete specification for every customized interface. Manufacturers can change how the panel is presented and where editing tools are located. Steps may also change with system updates. For this reason, the instructions shown on the phone itself take priority when they differ from a general explanation. A difference in wording or placement does not necessarily mean that the relevant feature is missing.
To make changes carefully, follow this order: identify the feature by name; check its current state; change only the relevant control; verify the result; and return to the previous state if it was not what you wanted. This approach helps avoid confusing a quick action with a deeper setting. If a change may have consequences you do not understand, do not confirm it until you have read the system’s description. The final recommendation is simple: customize the panel to reach the controls you use, but verify each change on the particular device in front of you.