Two ways to install iOS, not two different versions
An iPhone can be updated from its own settings or by connecting it to a computer. In both cases, the process installs an iOS version that Apple offers for that device; the method does not, by itself, turn the update into a different version. The choice is mainly practical: it depends on the connection available, the storage space, and whether the phone can complete the process from Settings. Apple explains how to update from an iPhone, and separately documents the steps for Finder on Mac and iTunes on PC.
The wireless route downloads the update to the iPhone and installs it from Settings. The computer route uses Finder on compatible Macs or the iTunes app on a Windows PC, with the phone connected by cable. This difference affects the steps and the equipment required; it does not mean you should look for a different build or download the operating system from unofficial sites. Start with the simplest method for your situation and switch to a computer if the wireless option is unavailable or cannot complete the installation.
Keep this distinction in mind when comparing instructions or looking for help: the question is not which method installs a “better” version of iOS, but which one lets you complete the update under the conditions available. In either case, the iPhone must receive a compatible version that Apple offers for that device. Using a cable or a Wi‑Fi network changes how you start and carry out the process, not its purpose.
Before updating: connection, battery, and backup
To update from an iPhone, Apple says to connect to a Wi‑Fi network and keep the device plugged into power during the process. Allow enough time and avoid relying on the battery if it is not sufficiently charged. The phone also needs free space to download and prepare the installation; if there is not enough, it may offer options to free up space, or you may need to manage storage before continuing. The amount required can vary with the update and the device, so there is no single figure that applies to every case. Apple’s iOS update guide describes these checks.
Before a major update, making a backup reduces the risk of losing information if something goes wrong. A backup is a precaution separate from installation: updating is not the same as making a backup, and connecting the phone to Finder or iTunes does not, by itself, confirm that a recent backup exists. Check where the latest backup was saved and whether it completed. Do not erase content or restore the iPhone as your first resort: restoring can erase data and is not the same as installing an update while keeping your content.
These checks help prevent interruptions, but they cannot guarantee that the process will finish without issues. Before you start, make sure you can keep the iPhone connected to power and that the available network works. If you are using a computer, separately check that it has an Internet connection and that the cable can keep both devices connected. Preparation depends on the route you choose; a backup, by contrast, is a precaution independent of the method.
Update directly from the iPhone
Open Settings, go to General, and select Software Update. If a version is available, review the information shown on the phone and choose the option to download and install. Depending on your settings, the system may also let you install future updates automatically. Apple documents this route in its iPhone guide. The exact names of some options may vary with the iOS version and the language configured on the device.
The main practical advantage is that you do not need a computer or a cable. The download depends on the wireless connection and on the iPhone having enough free space, so an unstable network or nearly full storage can make the process difficult. Once installation starts, follow the on-screen instructions and do not deliberately turn off the phone. If the download seems to have stalled, first check the connection and wait; repeatedly interrupting the process is not a useful strategy. Taking longer than expected does not, by itself, prove that the update has failed.
The Software Update screen is also the starting point for checking whether an update is being offered to the device at that time. If one appears, read the information and options before confirming, rather than assuming installation has begun just because you have reached that section. Keep the phone in the conditions specified on screen while it downloads and installs. If progress stops, identify when it happens: not finding an update, being unable to download it, and failing to complete installation are different situations and may call for different checks.
Update with a Mac or PC
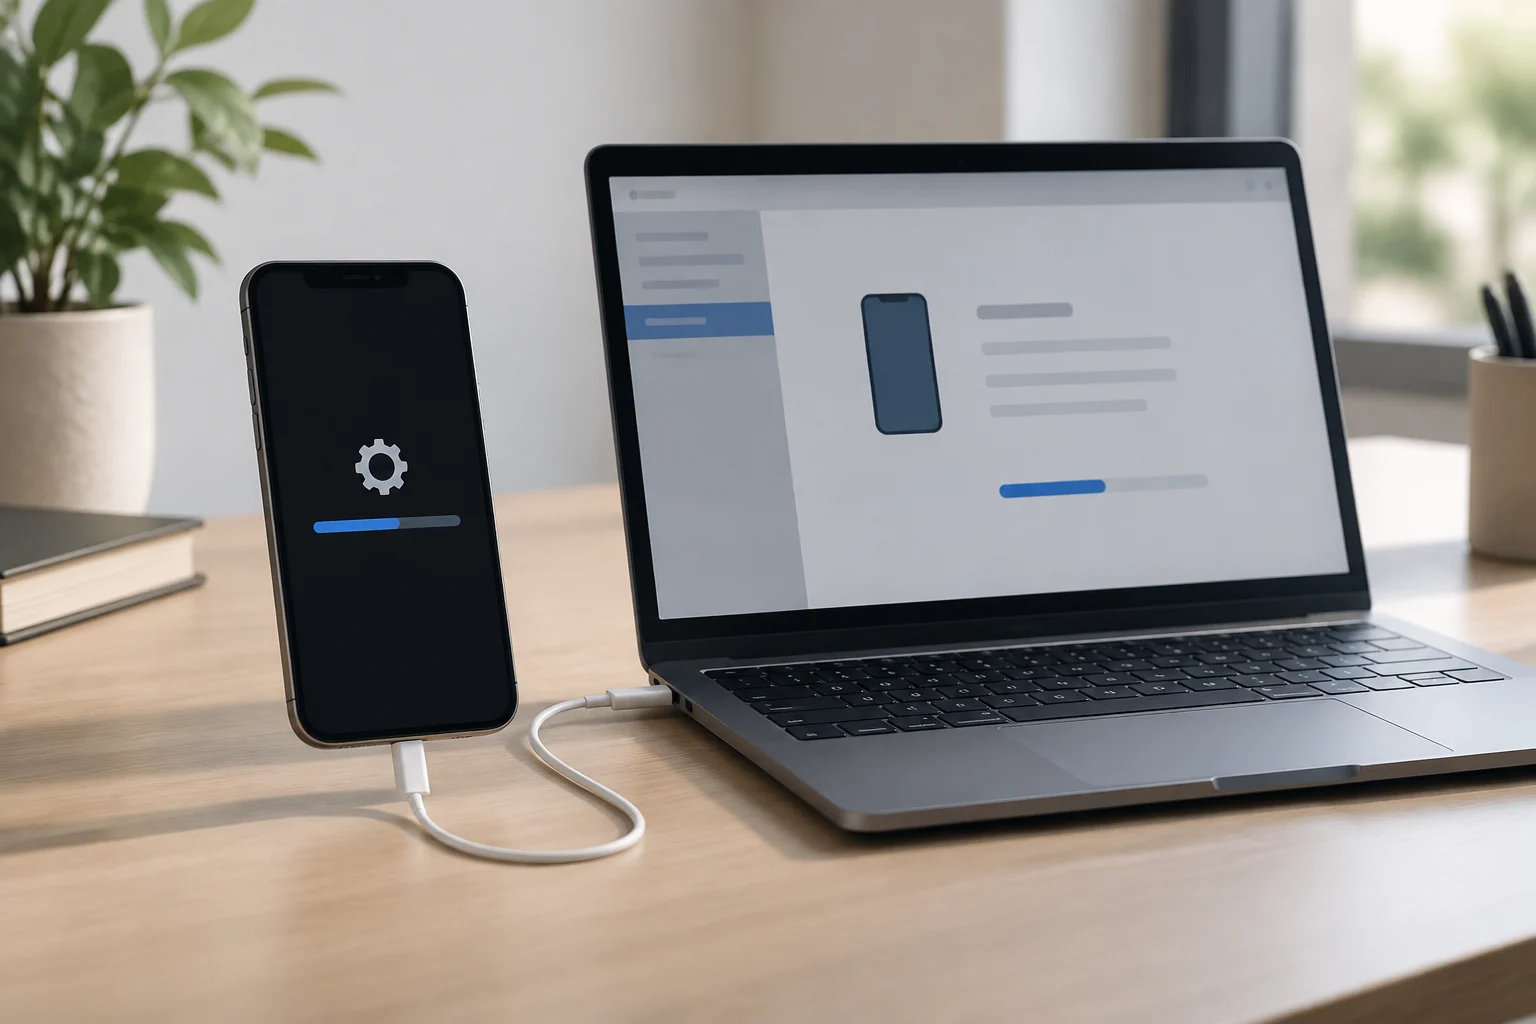
On a Mac, connect the iPhone to the computer with a cable, open Finder, and select the device in the sidebar. If a trust or passcode prompt appears, follow the instructions on the iPhone and Mac. In the device’s general section, use the option to check for an update and follow the steps shown. Apple describes the procedure in its Finder article.
On a PC, Apple documents using iTunes for this task: connect the iPhone, select it in the app, and look for the update option. See Apple’s iTunes instructions. The app in use and its interface may depend on the computer’s setup; follow the documentation for your environment. For either route, check that the cable and port work, avoid disconnecting the phone during installation, and keep the computer connected to power if there is a risk it might shut down.
A physical connection adds a few steps that are not needed when updating from Settings. You may need to unlock the iPhone and respond to a request to trust the computer or enter a passcode. Follow the prompts as they appear and make sure the device is shown in Finder or iTunes before checking for an update. If it does not appear, do not assume the iPhone cannot be updated: first check the connection, cable, and port, and consult the official guide for the computer you are using.
Which method is best in each situation?
If the iPhone shows the update and has enough free space, the wireless route is usually the most direct option: everything starts on the device itself. If the download is interrupted, Settings does not offer the expected update, or the process does not finish, trying a computer is an alternative documented by Apple. It may also be more practical if you prefer to keep the phone connected by cable throughout the process. This does not mean the computer route is always faster or fixes every error: the cause may lie with the connection, storage, cable, computer, or update availability.
There is no basis for a universal comparison of speed or reliability in the support information: results depend on conditions that vary from case to case, and Apple does not present these methods as a performance ranking. The sensible choice is operational: use Settings if it works and you have the necessary conditions; try Finder or iTunes if you need another route. There is no need to keep switching methods. Note the error message, check the basics, and follow the instructions specific to that problem.
For example, if the iPhone has enough space, is connected to Wi‑Fi, and shows the update, you can start in Settings without preparing a computer. If that route is unavailable or gets stuck, a computer lets you try updating through Finder or iTunes, provided you can connect the device and follow the steps for the relevant program. Neither situation lets you know in advance how long the process will take. The most convenient method is the one you can complete with a suitable connection and equipment, not the one that seems superior in every case.
If the update does not appear or is interrupted
If Settings does not show an update, first check the Wi‑Fi connection and try again later. Availability may depend on the model and on which version is offered for that device; not every iPhone receives the same versions. Also check whether an incomplete download is pending and preventing another from starting. Apple provides guidance for update problems in its article If you can’t update or restore your iPhone.
If an error appears when connecting to a computer, try a reliable cable and port, check the computer’s Internet connection, and follow the exact code or message shown. Apple maintains a guide to iOS update and restore errors; consult it rather than applying a generic fix to a specific code. If the phone remains on a recovery screen or the problem persists, follow the official instructions before choosing to restore, because that action can erase content.
Writing down the alert text or error code helps distinguish a connection issue from one that requires specific Apple instructions. It is also useful to note whether the problem occurred while checking for the update, downloading it, or installing it. Avoid repeating the same steps without checking what has changed, such as the connection, cable, or available space. If an official guide suggests an action that could erase information, check your backup first and make sure you understand the difference between updating and restoring.
Confirm which version was installed
When the iPhone is working again, open Settings, go to General, and select About to check the installed iOS version. You can also return to Software Update to see whether the system says it is up to date or whether another update is available. This final check distinguishes starting a download from actually completing the installation.
In short, updating over Wi‑Fi prioritizes the convenience of doing everything on the iPhone; updating with a computer requires a cable and Finder or iTunes, but provides an alternative if the direct process does not work. Make a backup where appropriate, ensure you have a connection and enough space, and do not confuse updating with restoring. The documentation explains Apple’s steps, but it does not promise that one method is faster or allow a diagnosis without the model, version, and specific error message.
Checking the version closes out the process: starting a download does not prove that the update was installed. If the phone reports that it is up to date, that is the indication to consider in Settings; if another update appears, you can decide whether to install it later. Keep the error message if the process did not finish and consult the relevant official instructions. This lets you describe the problem more precisely without blaming the update method before the cause is known.