Before you begin: storage, connection and preparation
Apple supports transfers without Move to iOS on compatible devices running a compatible version of Android 17 or later. Check with the manufacturer whether your phone supports this option. If it does not, use Move to iOS and follow Apple’s preparation instructions; do not confuse the conditions for app-free transfers with the requirements for Move to iOS.
Check that the content you want to move will fit on the iPhone. Apple recommends including data on an external Micro SD card in your estimate. If the iPhone runs out of space or appears full before the transfer is complete, Apple advises erasing the iOS device and starting over; check available storage before repeating the process.
Turn on Wi-Fi on Android and connect both phones to power before starting the transfer. Apple also lets you connect them directly with a USB-C cable to speed up the process. If you want to move Chrome bookmarks, update the browser on Android. Prepare both phones and make sure you can keep them close together throughout the transfer.
Transfer data with Move to iOS
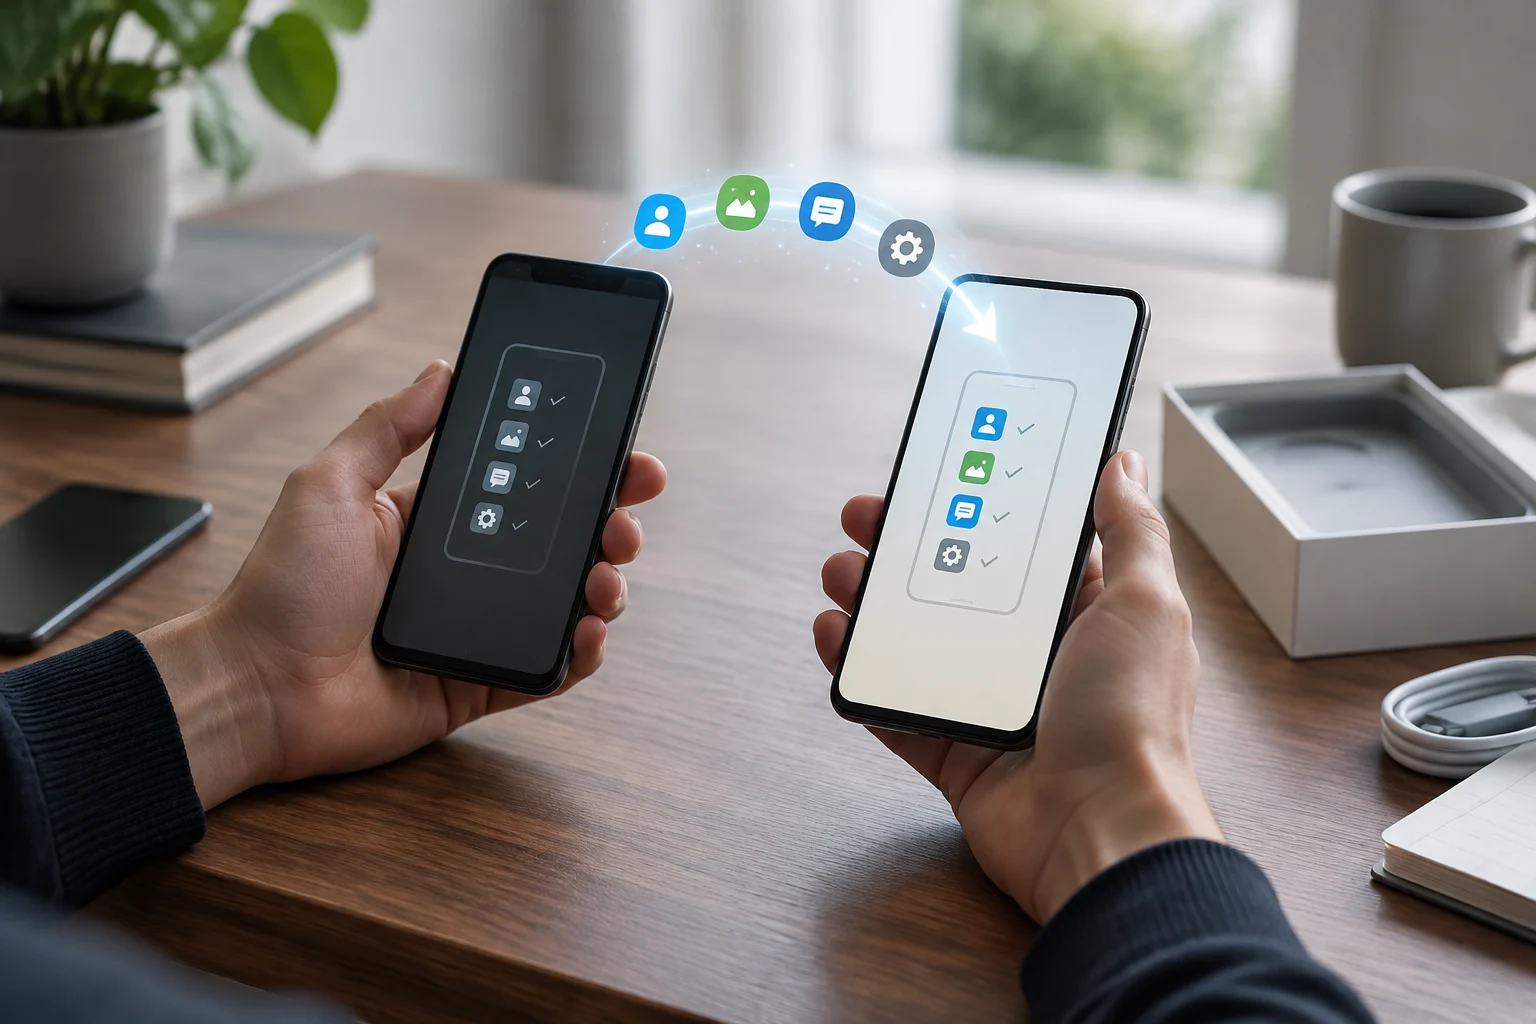
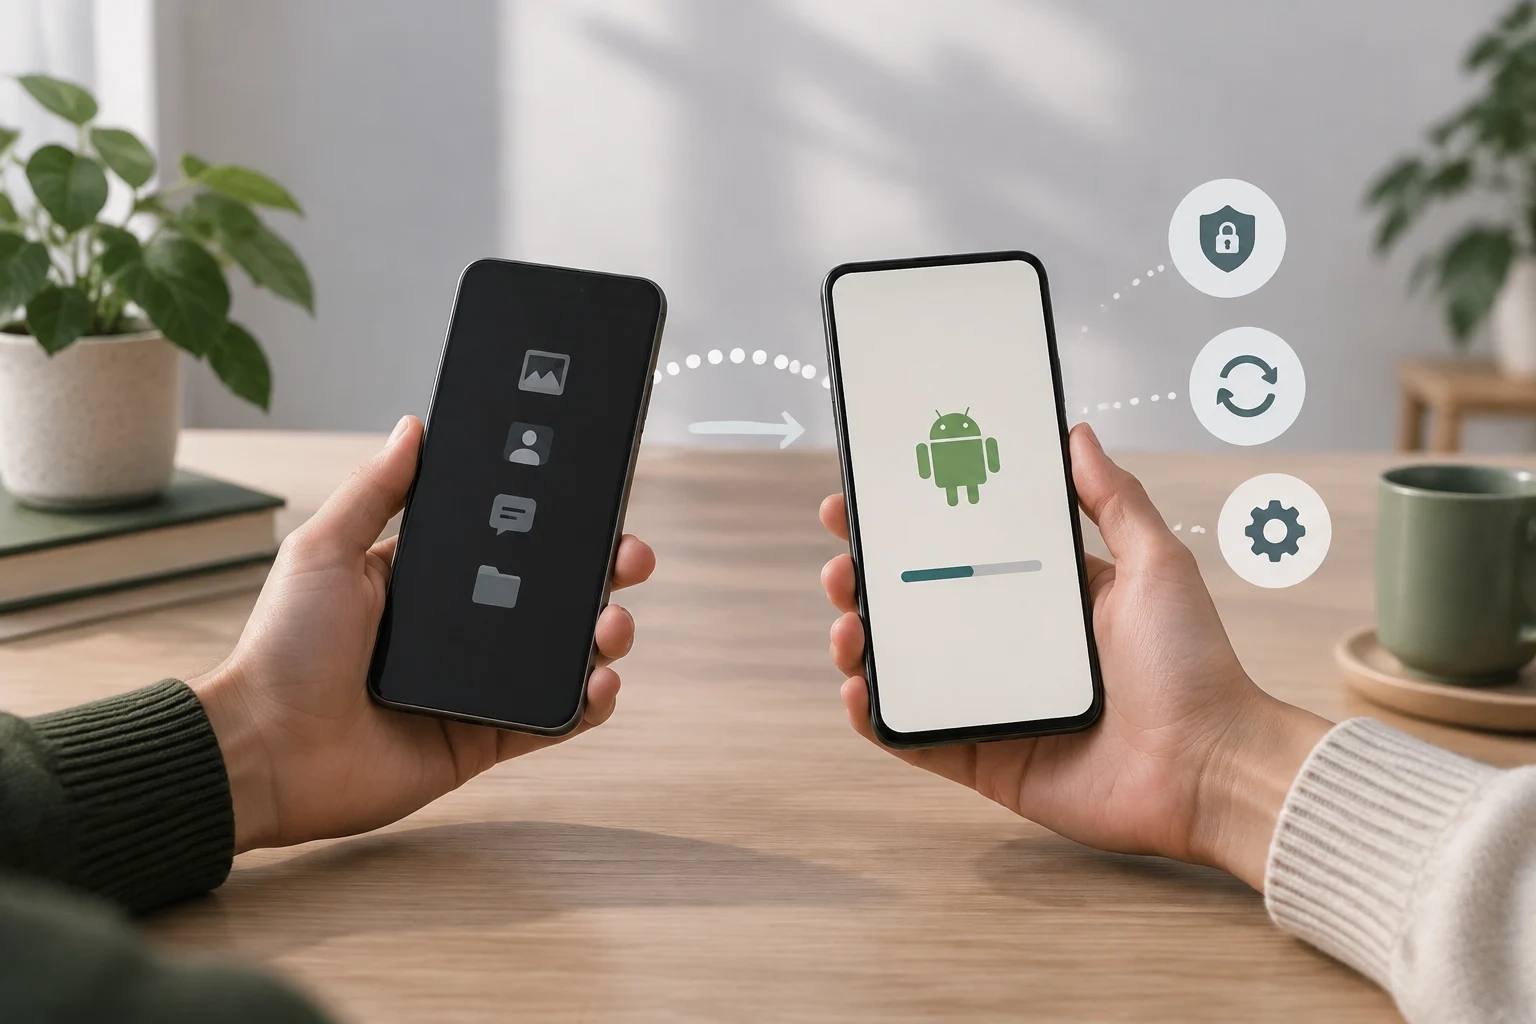
Turn on the iPhone and follow setup until you reach the Transfer Your Apps & Data screen. Choose the option to transfer from Android and open Move to iOS on your old phone. A six- or ten-digit code will appear on the iPhone: enter it on Android and follow the prompts to connect to the temporary Wi-Fi network created by the iPhone.
Choose the content you want to move. Apple lists contacts, message history, SMS messages, camera photos and videos, albums, files and folders, accessibility and display settings, web bookmarks, email accounts, WhatsApp messages and media, voice memos, call history, and calendars. Some free apps may also transfer if they are available on both Google Play and the App Store and support the feature. Music, books and PDFs must be moved manually.
Keep both phones close together, connected to power, and unused until the progress bar on the iPhone finishes. Keep Move to iOS on screen on Android: Apple warns that opening another app or receiving a call on that phone before the transfer is complete may prevent it from finishing. If it does not complete, check storage and the connection, and consult Apple Support.
Google Authenticator: sync or export codes
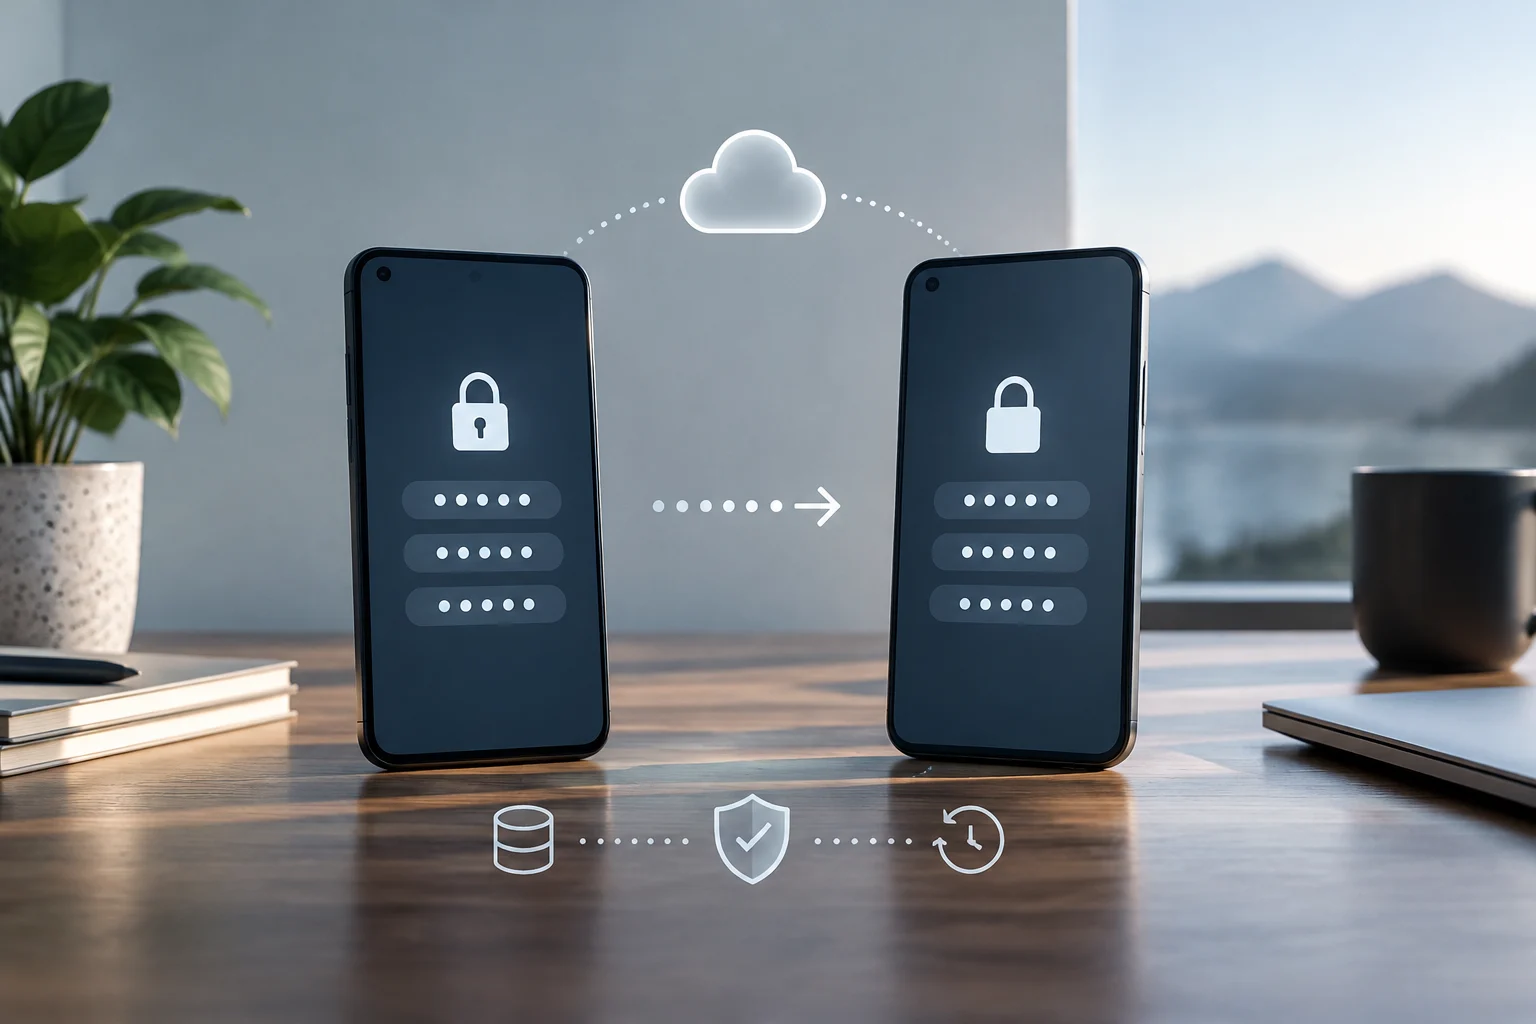
Google Authenticator can sync codes to a new device when you sign in to your Google Account in the app. Google says this feature requires version 6.0 or later on Android and version 4.0 or later on iOS. Check that the codes appear on your iPhone before using them to sign in to other services.
You can also move codes manually without syncing them to a Google Account. Install Google Authenticator on the iPhone. On the old phone, use the option to transfer and export codes, unlock the device and select the accounts you want to move. On the iPhone, use the option to import codes and scan the QR code generated on the old phone. Do not share that QR code, and check the codes on the new device before erasing the old one.
For a manual transfer, you need access to the old phone while you generate and scan the code. Confirm that the codes you need appear on the iPhone and work for the relevant services before erasing Android. Google recommends enrolling additional two-step verification methods to reduce the risk of losing access to your account.
Email, banking and your phone number
Apple lists email accounts among the data that Move to iOS can transfer, but that does not guarantee that every account will be set up or that you will be able to sign in automatically. Open your email apps on the iPhone and check that you can access each account and view the messages you need. If something does not work, follow the provider’s sign-in or account recovery instructions.
Apple’s information about Move to iOS does not explain how to migrate bank accounts or guarantee that a financial app will retain its signed-in session. Download any apps you need that are available from the App Store, then follow your bank’s instructions to authenticate the device. Before erasing Android, make sure you have the recovery methods required by each service.
During the switch, you can activate your phone number and SIM or eSIM on the iPhone; Apple warns that your carrier may direct you to its website to complete activation. If you receive verification codes by SMS, check that they arrive on the iPhone before you stop using Android. Verify that your line is active and contact your carrier if you need to complete any steps.
Apps and content worth checking
Do not assume that all your apps will be installed automatically. Apple says some free apps may transfer if they are available on both Google Play and the App Store and support the feature. When the process finishes, check the iPhone and download any necessary apps available from the App Store.
An app transfer also does not prove that its internal data has moved. Check whether the information is associated with an account and whether you can recover it by signing in on iOS. Open important files to make sure they are on the iPhone; according to Apple, music, books and PDFs must be moved manually.
Checks to complete before erasing Android
Keep Android until you have checked that your important data is on the iPhone and that you can access your accounts. Review contacts, photos, messages, files, and calendars; open essential apps and test authentication codes and recovery methods. Erase the phone only after completing the checks you need: there is no single required period for keeping it.
Once you have verified your data, decide whether to erase or keep the old phone. If the transfer was incomplete, check available storage; Apple says that if the iOS device ran out of space, you may need to erase it and start over. Keeping Android nearby until outstanding tasks are complete makes it easier to look up information you have not yet moved.