One cable: what it simplifies—and what it doesn’t guarantee
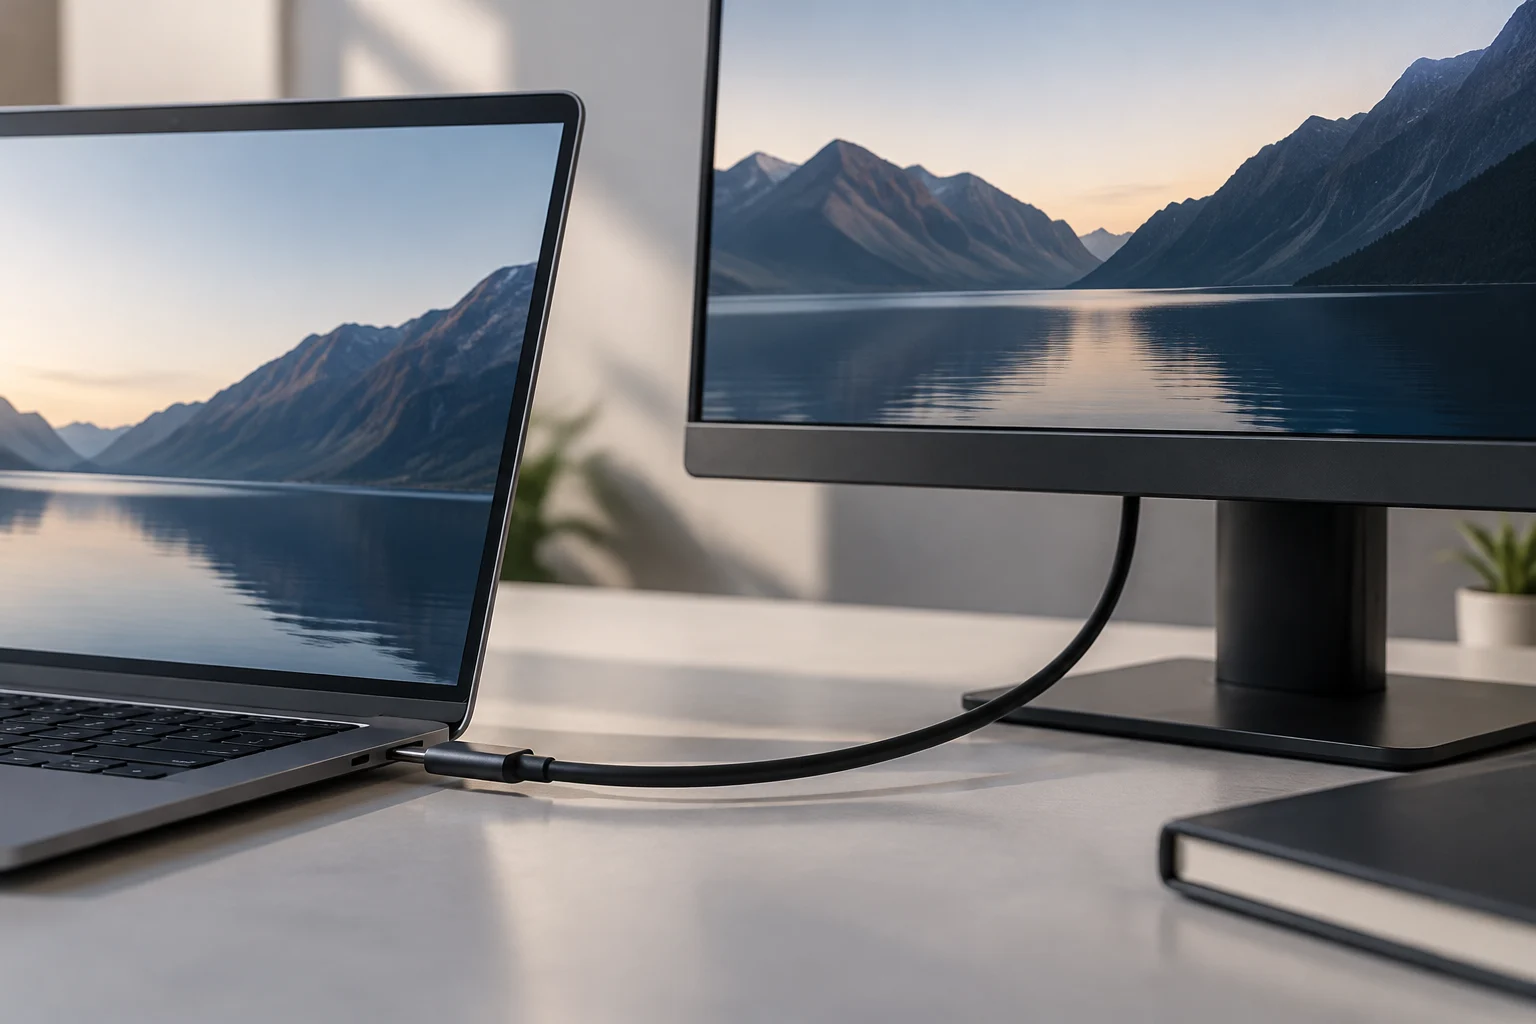
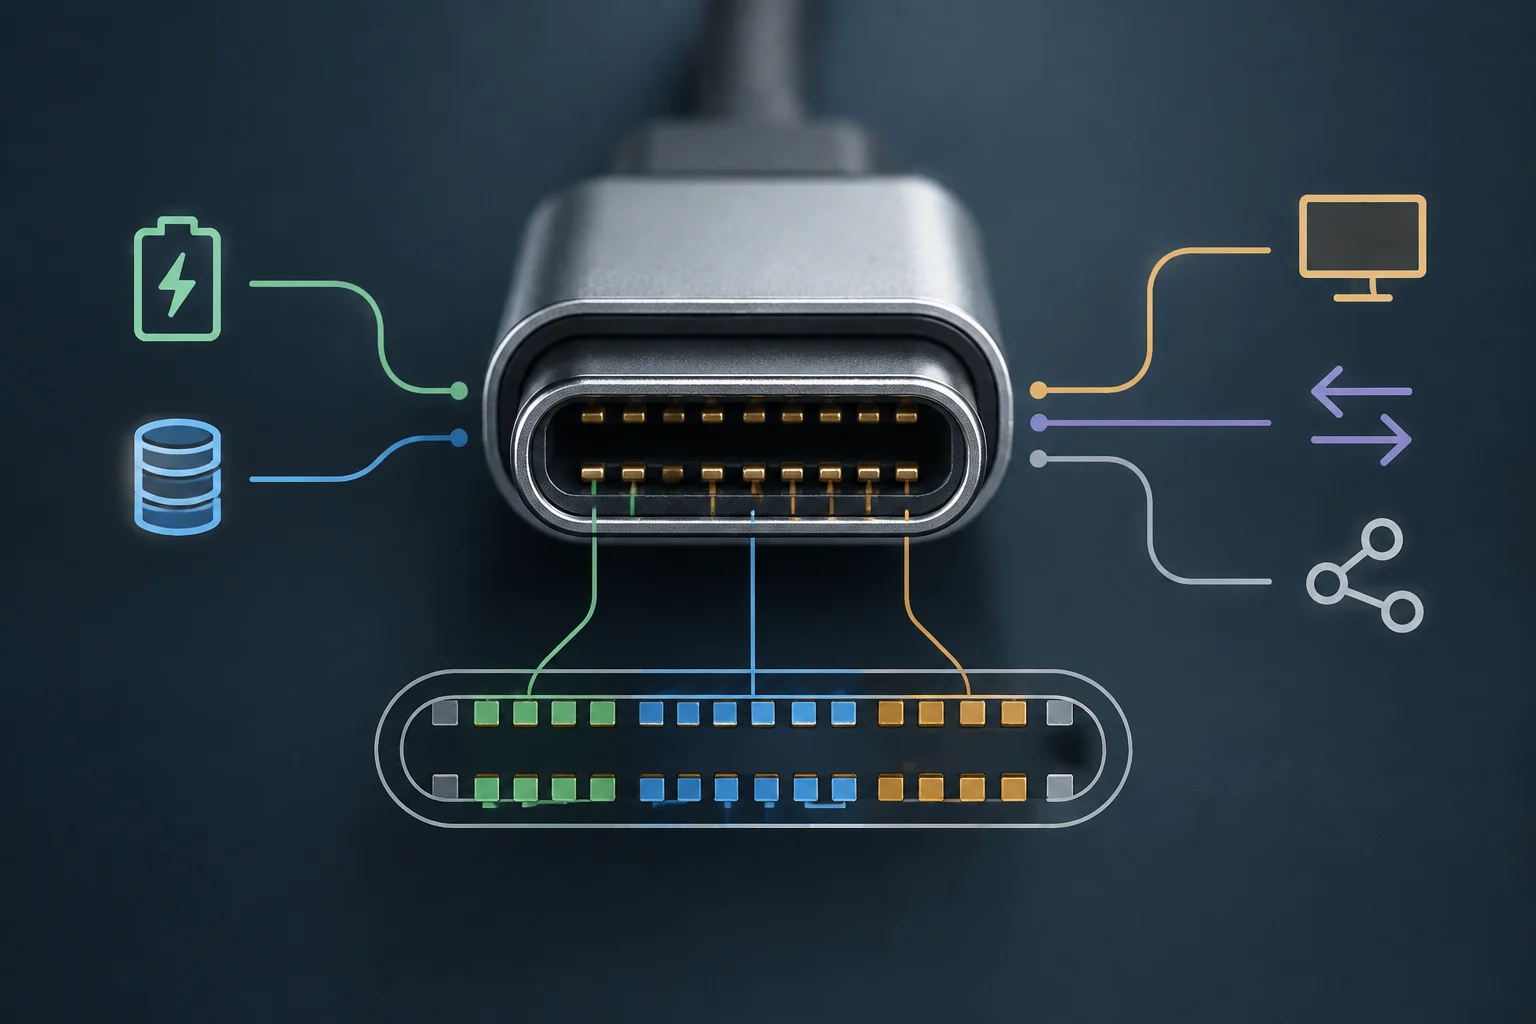
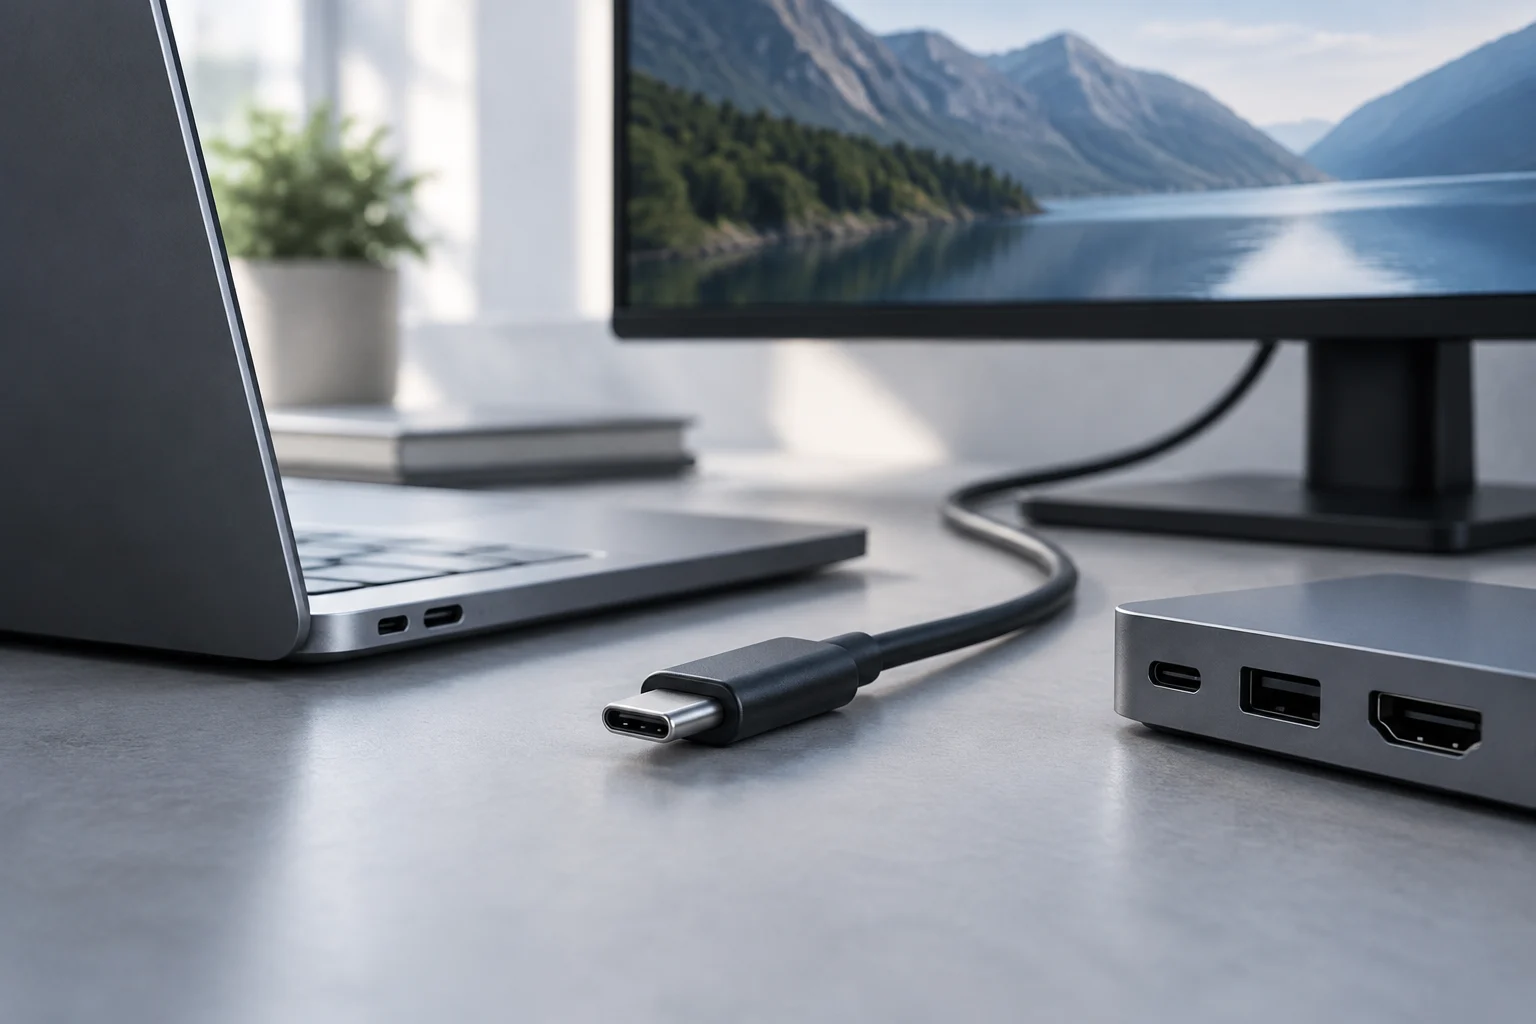
A USB-C-connected monitor can combine functions that would otherwise require several cables: sending video from the laptop, handling data for peripherals and, if the monitor supports it, supplying power to the computer. On a fixed desk, this combination can reduce the number of connections needed when plugging in or removing the laptop. A single connector doesn’t mean universal functionality: check each feature in the specifications for both the monitor and the computer.
The useful question isn’t simply “Does it have USB-C?” but which signals and services that specific port supports. A USB-C port may handle data but not video; it may carry video without supplying enough power for a particular laptop; or it may support charging and video without providing the output ports needed to daisy-chain another display. The cable matters too: a connector that fits doesn’t prove that every mode is available.
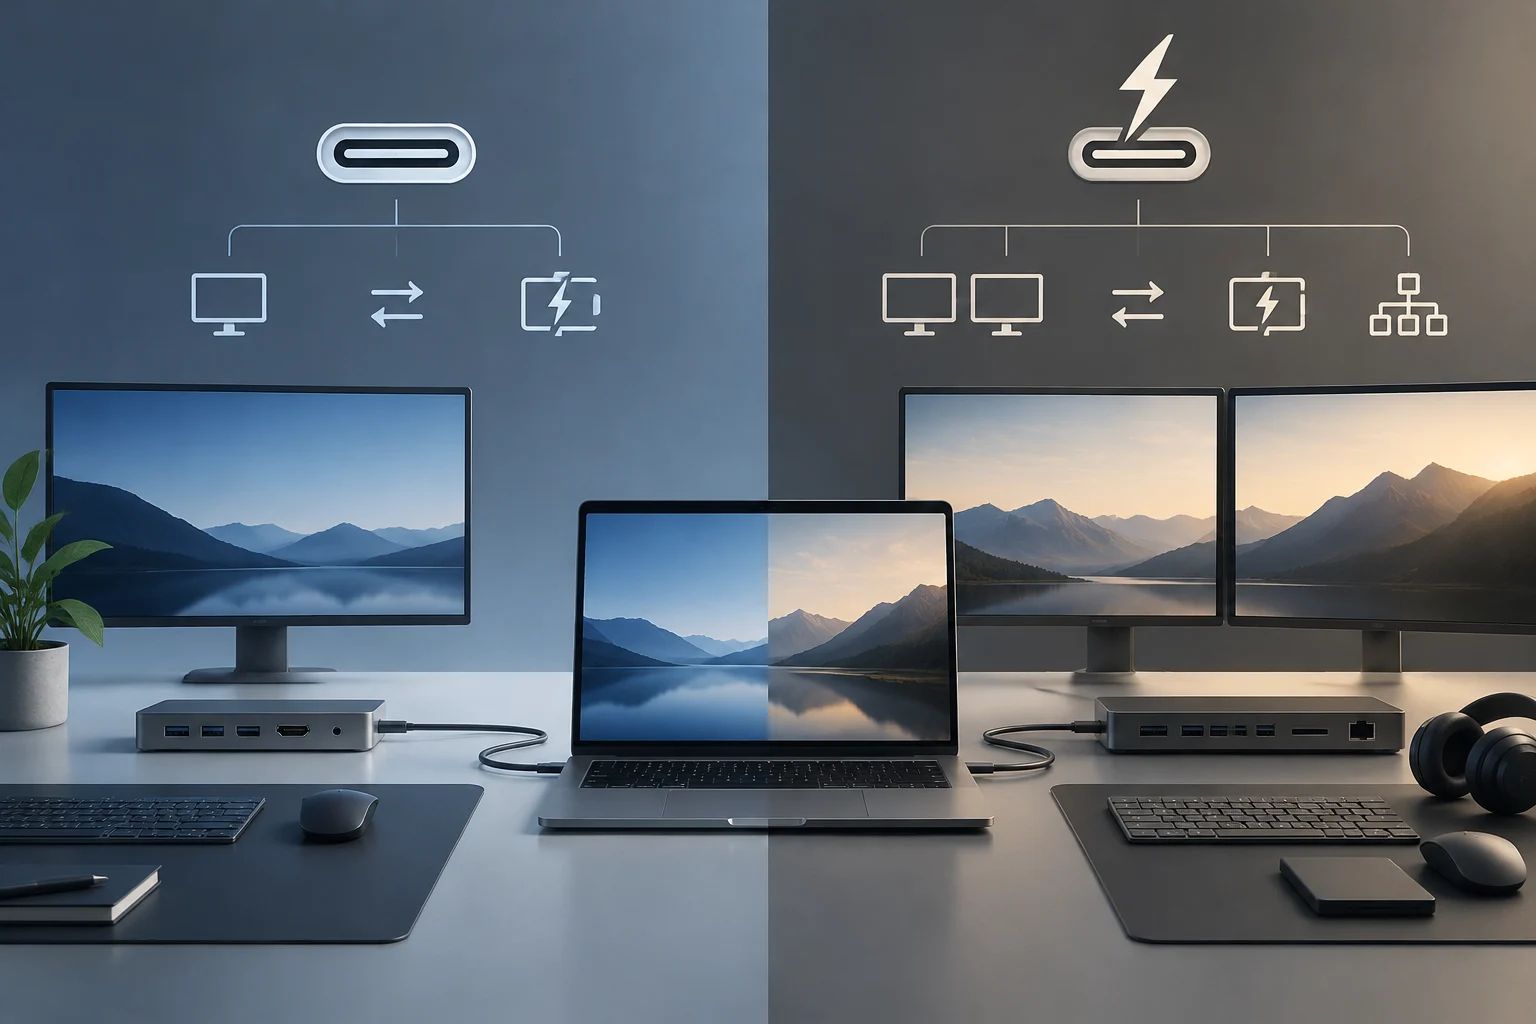
It’s best to assess the monitor as a potential dock against a list of requirements, not as an automatic replacement for any docking station. If you only want to connect a display, check video support and the cable. To do away with the charger as well, check the wattage and power-delivery conditions. For a keyboard, mouse and storage, also verify the upstream data connection and downstream ports. Each function needs its own confirmation.
USB-C video: look for the mode, not just the connector
To send video over USB-C, the laptop’s port must support a video function such as DisplayPort Alt Mode or Thunderbolt, and the monitor must accept the signal through a compatible input. DisplayPort Alt Mode lets a USB-C connector carry DisplayPort signals; support cannot be inferred from the connector’s shape. VESA’s technical documentation describes this mode as a way to carry DisplayPort over USB-C, while each device’s specifications determine whether it is implemented.
In the laptop specifications, look for wording such as “USB-C with DisplayPort,” “DisplayPort Alt Mode” or the Thunderbolt version specified by the manufacturer. On the monitor, identify which USB-C port accepts video and whether it supports DisplayPort Alt Mode or Thunderbolt. Check both ends: the fact that the laptop and monitor each have USB-C doesn’t establish a compatible video path between them. If the computer’s documentation distinguishes between ports, use the one identified as supporting display output.
Resolution and refresh rate also depend on the complete setup: the computer’s capabilities, bandwidth, link version, cable and other connected devices. For a daisy chain, for example, Dell notes that resolution, refresh rate, color depth and available bandwidth affect how many displays the connection can support. Don’t apply a maximum from one specification to every combination of displays and ports.
Don’t confuse HDMI with daisy chaining: a monitor having HDMI doesn’t mean it can pass the signal on to another display. For an additional screen, check whether the computer supports multiple external displays and whether the primary monitor has a suitable video output. Compatibility can vary among laptop models in the same product family, so check the specifications for your exact configuration rather than relying on a general description of the series.
Charging: compare wattage with the laptop’s requirements
Charging over the video cable is a separate feature. Some monitors supply power to a laptop over USB-C or Thunderbolt; others provide data and video but not enough power to run it. The specifications should explicitly state the output or charging power, usually in watts, and identify the port it applies to. Don’t assume a video port also charges the computer.
Compare that figure with the power requirements for the exact laptop model, using its documentation. If the monitor supplies less power than the computer needs under certain conditions, it may not charge as quickly as expected, or the laptop may still need its adapter. If the power is compatible, you can assess whether a single cable will also handle everyday charging. Consider what happens under a heavy workload too: the relevant figure is the power the monitor can deliver to the computer, not the monitor’s total power consumption.
Also check whether the published figure applies to the output available from the port used to connect the laptop, and whether it changes when other devices are connected. Monitors with multiple ports may distribute resources or specify different behavior depending on the connection. The wattage must apply to the upstream port you plan to use and to your intended setup; a generic mention of “USB-C” or “Power Delivery” doesn’t settle the comparison on its own.
USB ports: identify the upstream link and peripheral ports
A monitor with a USB hub needs an upstream connection to the computer so its peripheral ports can communicate with the laptop. The upstream port links the monitor to the computer; downstream ports connect accessories such as a keyboard, mouse or storage device. Names and layouts vary by model, so the specifications or port diagram should clarify each port’s role. Don’t count sockets without distinguishing their direction and function.
If the same USB-C cable carries video, data and power, it can centralize those tasks. Even so, check the data speeds of the monitor’s ports and whether the connection to the computer maintains the functions you need. A downstream port may support accessory charging, data transfer or both, with different limits. If you plan to connect an external drive, for example, check its data speed—not just whether it can be plugged in.
If you’re buying a monitor to replace a dock, make a short list of the devices that will stay on your desk: USB peripherals, storage, wired networking or other accessories. Then compare that list with the available ports and how they connect to the laptop. A monitor may cover everyday needs without replacing every docking-station function; if it lacks a particular connection, you may still need a separate hub.
Daisy chaining: MST, outputs and system limits
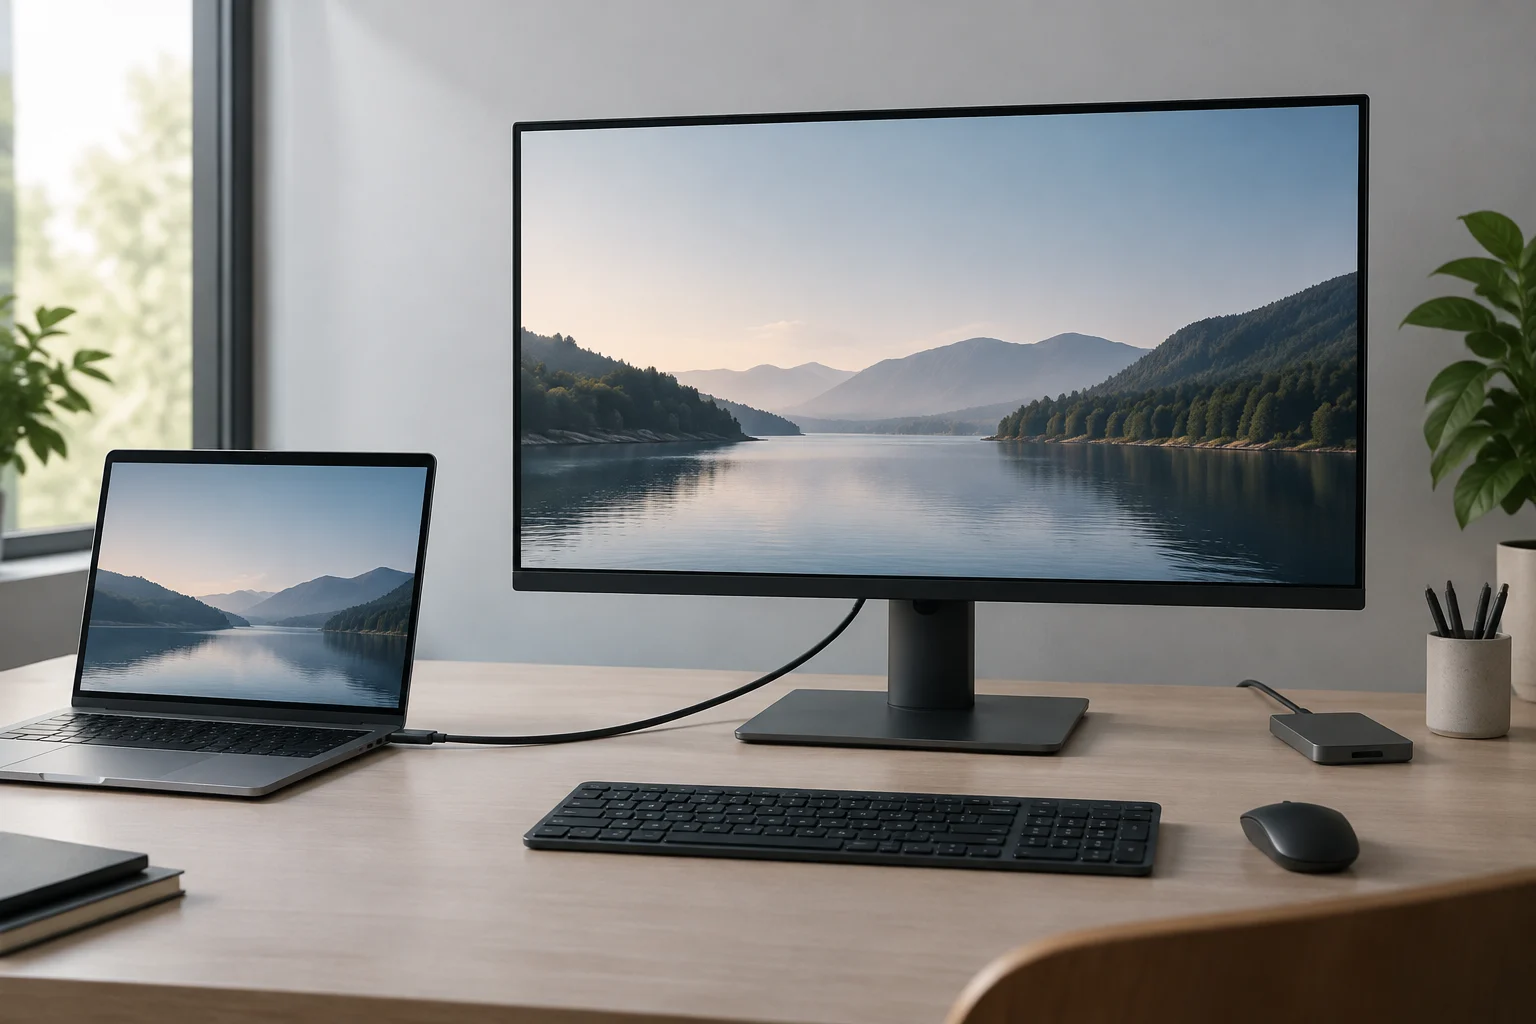
Daisy chaining connects the computer to a primary monitor, then links another monitor from a compatible output on the first. For DisplayPort, Multi-Stream Transport (MST) carries multiple display streams over one connection; however, it isn’t enough for every device to have a DisplayPort or USB-C port. Check that the computer’s output supports the feature, that the primary monitor can pass the signal through, and that the inputs and outputs are compatible. Dell notes that only some of its monitors support MST and recommends confirming support for each model.
To check, look in the monitor’s manual for an output identified as DisplayPort Out, MST or a downstream Thunderbolt port, and see whether MST needs to be enabled in the monitor’s menu. For USB-C, confirm support for DisplayPort Alt Mode or Thunderbolt: USB-C alone doesn’t mean MST or video output. HDMI isn’t an alternative for this type of daisy chain, according to Dell’s guide; having HDMI inputs on both monitors doesn’t provide a signal path through the first monitor.
The operating system and computer model can also affect the result. Dell’s guide notes macOS restrictions, distinguishing connection methods and explaining that support for extended displays depends on the computer and connection type. Apple, in turn, specifies the number and configurations of external displays by computer model. Check the limits of your exact laptop, as well as the monitors’ capabilities: a physically correct daisy chain doesn’t guarantee that the system will support two extended desktops.
The number of displays and image quality also depend on the available bandwidth. Higher resolution or refresh rates, greater color depth and the laptop’s graphics capabilities can limit the setup; Dell lists these among the factors that affect daisy chaining. So a specification that says “MST compatible” doesn’t by itself determine how many displays will work at a particular resolution and refresh rate. If you need a specific setup, look for that combination in the laptop and monitor specifications.
Pre-purchase checklist
Check the official product pages for the exact laptop and monitor models before buying; features can differ between variants even when their connectors look similar. A systematic check can prevent you from choosing a monitor based on one specification-sheet term, only to find out later that it lacks video, charging or an output for a second display.
- Video: Confirm that the laptop’s USB-C port supports DisplayPort Alt Mode or Thunderbolt and that the monitor’s input accepts the corresponding signal.
- Display: Check that the required resolution and refresh rate are supported in that combination.
- Charging: Compare the monitor’s USB-C output power, in watts, with the laptop’s requirements.
- Peripherals: Identify the upstream port to the computer, the downstream ports and their data capabilities.
- Second display: Check for MST or Thunderbolt, a suitable output on the primary monitor, and the operating system’s and laptop’s limits.
- Cable: Confirm that the included cable—or the one you plan to buy—supports the features and performance you need.
If all the essential requirements match, the monitor can become the center of a simple, easy-to-connect desk setup. If just one condition isn’t met—for example, the laptop needs more charging power than the monitor provides, or the system doesn’t support the intended daisy chain—you may only need to keep the charger, connect the second display directly or add a dock. The best choice depends on the complete setup, not the number of USB-C ports printed on the box.
USB-C monitor compatibility checks
Check each link in the setup before relying on one cable for video, charging, peripherals or another display.
-
Video path
Confirm compatible video support at both ends.
-
Resolution and refresh rate
Check the complete setup’s limits.
-
Charging
Match monitor output to laptop needs.
-
Peripherals
Confirm upstream and accessory ports.
-
Daisy chaining
Verify the output path and system compatibility.
-
Cable
Use a cable suited to the required features.
Exact capabilities depend on the laptop and monitor models, ports, cable and operating system.