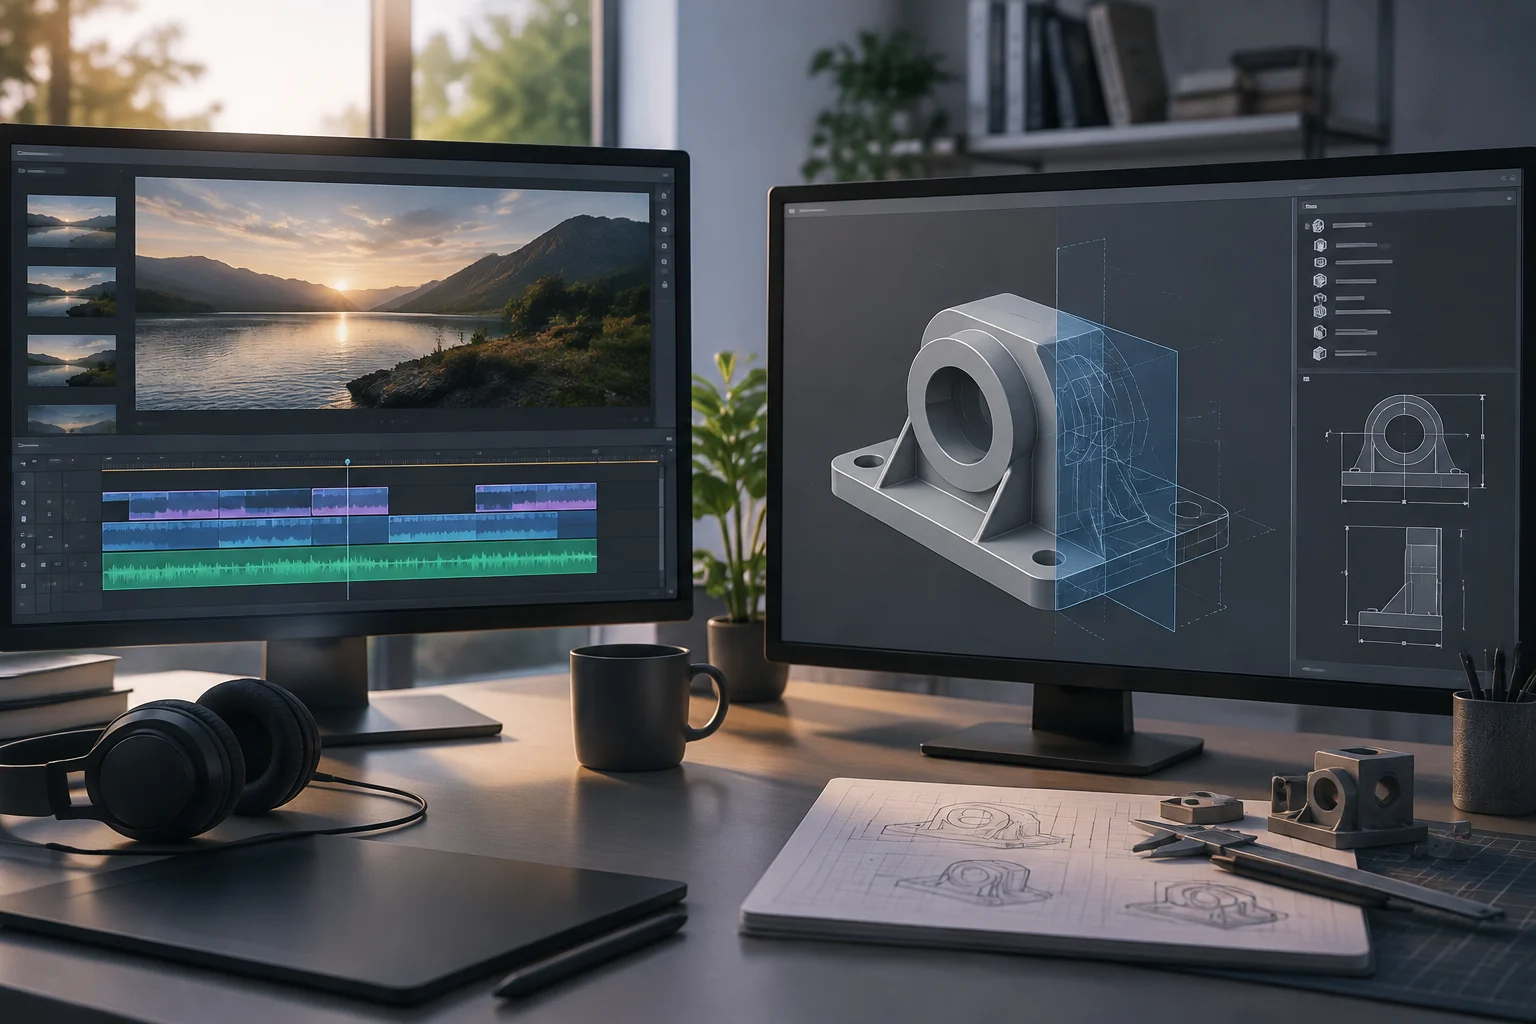
Free Software: Freedoms and GPL License for Kdenlive, LGPL for FreeCAD
The term free software does not refer to price, but to the freedoms it grants to the user. According to the Free Software Foundation definition, a program is free if it guarantees four essential freedoms: run it for any purpose, study its source code and modify it, redistribute copies, and distribute modified versions. These freedoms allow communities to adapt tools to their needs without relying on a single provider.
Kdenlive is distributed under the GNU GPL, and the official FreeCAD repository includes the GNU LGPL version 2.1. Both belong to free software licenses. For a free software office, a practical check is to keep the program's notices and review the conditions of components you plan to redistribute: an application's name does not replace reading its licenses.
Kdenlive: Non-linear Editing, Tracks, Formats, and Differences from Clip Cutting
Kdenlive is a non-linear multi-track video editor, meaning it allows working with multiple video and audio tracks simultaneously without altering original files. Unlike a simple cutter, which only removes segments from a file, Kdenlive offers a timeline where clips can be overlapped, effects applied, and color correction performed. This structure allows non-destructive editing: changes are saved in the project file, not in the final video.
Kdenlive documentation lists common formats and codecs such as MP4, Matroska, WebM, H.264, and H.265, as well as camera formats like DV. It is useful to distinguish the container — for example, MP4 — from the codec it contains. The project profile sets the resolution and frame rate of the edit; Kdenlive allows combining different sources and adapting their frames to that profile. Before editing an important delivery, import a sample of the material and check both the preview and a short export.
Your First Video: Official Download, Import, Cut, Transitions, and Export in Kdenlive
To start, download the stable version from the official download page. There are versions of Kdenlive for Windows, macOS, and Linux; check the requirements of the package corresponding to your equipment. The recommended folder structure is clear: a main folder for the project, with subfolders for videos, audio, and images. When creating a new project, select the appropriate profile (resolution and frame rate) or let Kdenlive suggest it when importing the first clip.
- Import the material using Add Clip or Folder in the Project Bin panel; select the videos, audio, or images you will use.
- Assemble the sequence by dragging clips from the Project Bin to the video and audio tracks on the timeline. Play the assembly to review the order.
- Cut and adjust using the cut tool or by dragging the edges of the clips to the desired in and out points.
- Try a basic transition by overlapping the end of one clip and the beginning of the next on adjacent video tracks. On the top clip, open the context menu and choose Insert a Composition > Wipe, following the quick start guide in the manual.
- Save the project with File > Save in a
.kdenlivefile. This file preserves the organization and editing decisions; for most material, it stores references to the original files, not a copy of all of them. Keep the source media accessible. - Export the video from Render. Choose an output profile, such as MP4, and a location for the file. Saving the editable project and rendering the video are distinct steps.
FreeCAD: Parameters, History, Parts, and Mechanical Design vs. Artistic Modeling
FreeCAD is a parametric 3D modeler oriented toward designing real objects, with applications in parts, products, mechanical engineering, and architecture. In this approach, history and parameters are part of the model: you can return to a dimension or operation and modify it. In an introductory exercise, changing a dimension and reviewing the resulting solid helps understand the relationship between sketch decisions and the geometry built afterward.
A typical path in Part Design begins with 2D sketches subject to constraints, from which operations such as extrusion are created. The working question is how a part should be built and what dimensions or relationships must be maintained. If your main goal is to sculpt an organic shape or prepare an animation, compare that goal with the tools of the artistic workflow you are considering; do not choose a program solely because both work in 3D.
Your First Part: Official Download, Body, Sketch, Constraints, and Extrusion with Pad
The current project website is freecad.org and its official download page gathers versions for Windows, macOS, and Linux. Choose the package corresponding to your system and equipment architecture. To start the exercise, create a document and select the Part Design workbench.
- Create a Body with Create new body: this will be the body in which you will build this part.
- Open a sketch with Create sketch and choose a base plane, such as XY. The Sketcher environment will open.
- Draw a simple profile, for example a rectangle. In this first phase, defining the geometry is important; you will adjust its measurements later.
- Add geometric and dimensional constraints. Coincidence, horizontality, or verticality relationships and dimensions answer different questions. Also fix the profile's position relative to the origin according to the design you want to achieve and review the solver's degrees of freedom. Avoid adding redundant constraints.
- Check that the outline is closed and that its endpoints are properly joined. A fully constrained sketch and a closed profile are distinct checks: dimensions fix its shape and position, while closure allows building the solid for this exercise.
- Close the sketch editing and apply Pad. Select the sketch, press Pad, define the length, and confirm with OK. This operation extrudes the profile along a straight path.
- Return to the sketch and change one of the dimensions to practice the relationship between parameter and history.
 y su [página oficial de de...](https://www.bytepreview.com/storage/article-images/73/738d9ef8dba1b6d3e0f1ab1761ceac2dc2d59f3454a0930366a9728bee8b1bba.webp)
What Equipment You Need and How to Decide if the Workflow Fits
For Kdenlive, the installation manual indicates at least 4 GB of RAM for SD video, 8 GB for HD, and 16 GB for 4K. These are equipment references, not a guarantee of smooth playback with any codec, number of tracks, or effect. The manual explains that timeline playback uses the CPU, although rendering profiles with GPU support exist. If you notice slowness, try the preview resolution, proxies, and timeline pre-rendering features.
Before preparing a classroom or office, check the operating system supported by the chosen package. The FreeCAD page offers 64-bit downloads and sets the minimum at Windows 10 and macOS 12 Monterey, in addition to Linux packages; on macOS, it distinguishes between Intel and Apple Silicon. For Kdenlive, also check the requirements of your system's package. Run a test with representative videos and parts of the work you will perform, and check the program's response without transferring video requirements to CAD or promising that a certain amount of memory will serve all projects.
| Goal | Editable file to keep | Result or exchange |
|---|---|---|
| Edit video with Kdenlive | .kdenlive and source media |
Rendered video, e.g., MP4 |
| Design a part in FreeCAD | .FCStd with the model |
Export for the intended destination, such as STEP or STL; check what information you need to keep |
Documentation, Communities, and a Practical Path to Keep Learning
The Kdenlive manual includes instructions on installation, editing, effects, and export. You can also ask questions on the KDE forum and consult community answers.
For FreeCAD, the official wiki gathers usage documentation, workbenches, and Python programming; the FreeCAD forum is for asking questions. When asking for help, identify the version used, describe the steps, and attach a shareable example. The official repository recommends providing version information and a reproducible explanation of the problem.
When to Choose These Tools and When to Consider Another Workflow
Start with the result you need to deliver. To learn multi-track editing, work with clips, and produce a video, practice the Kdenlive workflow with a small project. To learn how dimensions and constraints build a part, perform the FreeCAD exercise and then modify its parameters. In a free software office, keep editable projects, necessary resources, and a brief description of the procedure so that another person can continue it.
If you only need to cut a fragment, consider whether a cutting tool is sufficient. If you seek sculpture or animation, compare a workflow oriented to those tasks with the CAD exercise proposed here. These are selection criteria based on the task, not a quality ranking between programs.
In a professional environment, test the exchange before migrating. Check the formats you must receive and deliver, the versions your collaborators use, necessary plugins, support requirements, and the possibility of continuing a project on another machine. If a contract or team requires a specific workflow you have not validated, it may be better to maintain it or design a gradual transition. The value of free software does not eliminate the need to check the actual delivery.