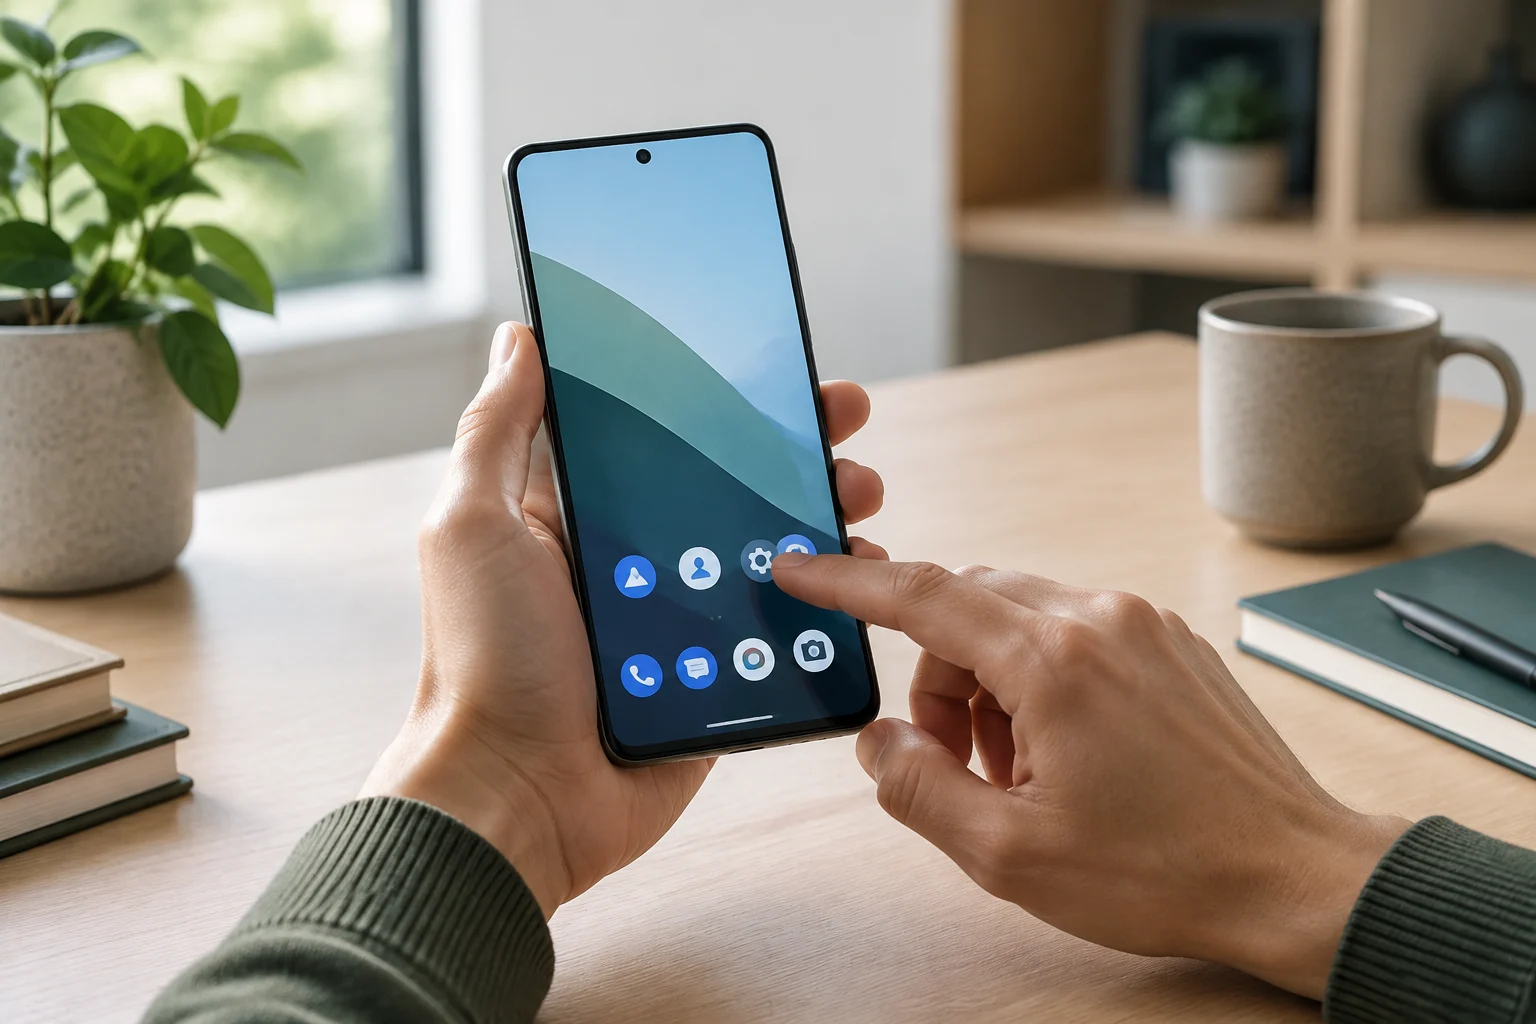
1. Turn on your device and complete the initial setup
Before you begin, plug your phone or tablet into a power source and have your Wi-Fi password ready. Turn on the device and follow the on-screen instructions to connect to Wi-Fi. If you plan to use a SIM card, follow the steps shown on the device to add it. For an eSIM, follow the on-screen instructions to activate or transfer your service; steps can vary by model and carrier. With a new device, you can also skip copying data and start fresh.
Sign in with the Google Account you want to associate with the device. This choice matters because apps and content from Google Play are linked to an account and are not transferred between different accounts. If the setup assistant offers to restore a backup or copy information from another device, check which account is selected before continuing. Do not share passwords or sign-in codes with anyone helping you set up the phone. If you cannot remember your password, use the official account recovery process rather than trying combinations at random.
2. Choose what to transfer and secure access
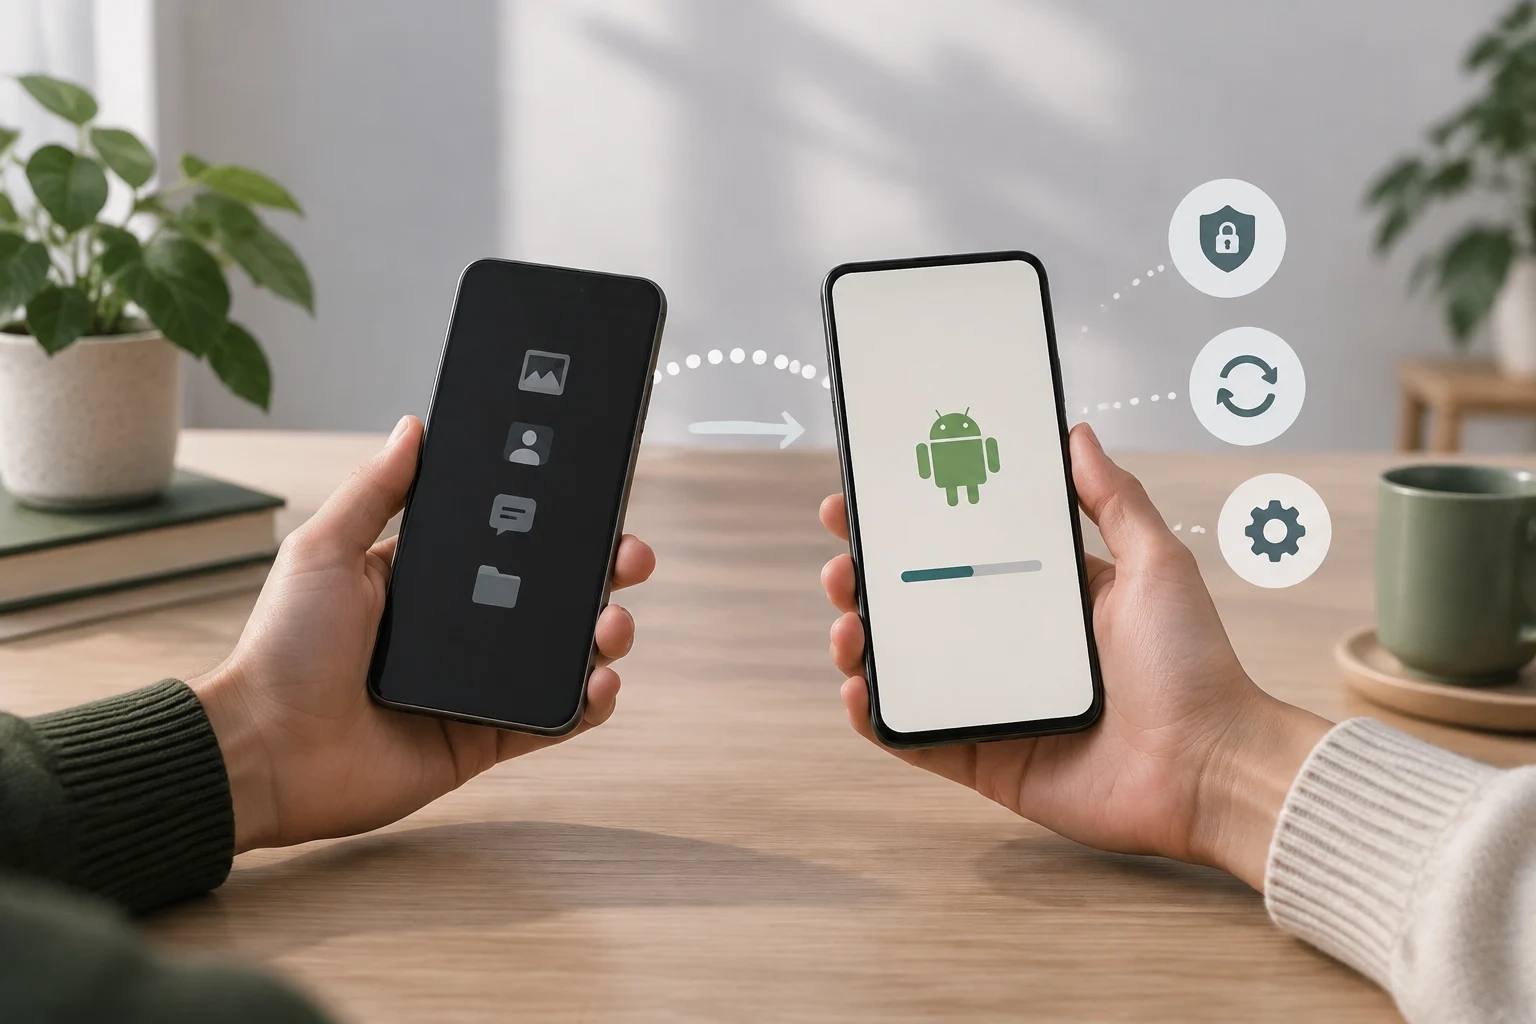
If you still have your previous phone, the Android setup assistant may offer to copy apps and data during setup. With another Android device, the transfer may pair the two devices and let you select content; from an iPhone or iPad, the available options depend on the steps shown on the new device. You can also add some information manually later. You do not have to copy everything: choose what you need, then check that important items are on the new phone.
A transfer does not guarantee that every piece of data or service will work in the same way on the new device. Available apps may depend on the device, and some accounts require you to sign in again. After setup, set a screen lock using a PIN, pattern, or password; choose something you can remember without writing it down beside your phone. Do not reset or erase the old device until you have confirmed that important photos, contacts, messages, and other files are on the new device or in a recoverable backup. Keep the old device intact until you have checked the transfer; it is a simple precaution.
3. Learn how to navigate and adjust the screen
Android may offer gesture navigation or three-button navigation: Back, Home, and Recents. In gesture mode, swiping in from an edge takes you back; swiping up from the bottom takes you Home, while swiping up and holding opens recent apps. With three-button navigation, tap the corresponding control to do the same things. If gestures do not feel comfortable, try the buttons: Android includes this alternative, which may be easier for people who find precise movements difficult.
To change the navigation mode, search Settings for “Navigation” if you cannot find the option straight away. On some devices, it is under System or Gestures; names and paths vary by manufacturer and version. To get used to the controls, practise using Home and Back first, then open Recents to return to an app. You can also try the auto-rotate control available on your device. Change one setting at a time and check the result instead of trying to memorise several menus at once.
4. Install apps and keep the system up to date
To install apps, open the Google Play Store, search for the app’s name, and check that it is the one you need before tapping “Install.” The store may show whether an app is compatible with devices linked to your account. If several versions have similar names, pay attention to the developer and description. Install only apps you recognise and need; check the developer and description before installing.
System updates are checked in Settings, usually under System or a software update section. You can also check your Android version and security update status there. Connect to Wi-Fi and make sure the device has enough battery before starting a large download. Update timing depends on the device, manufacturer, and carrier; one phone receiving a new version later than another does not mean both follow the same schedule.
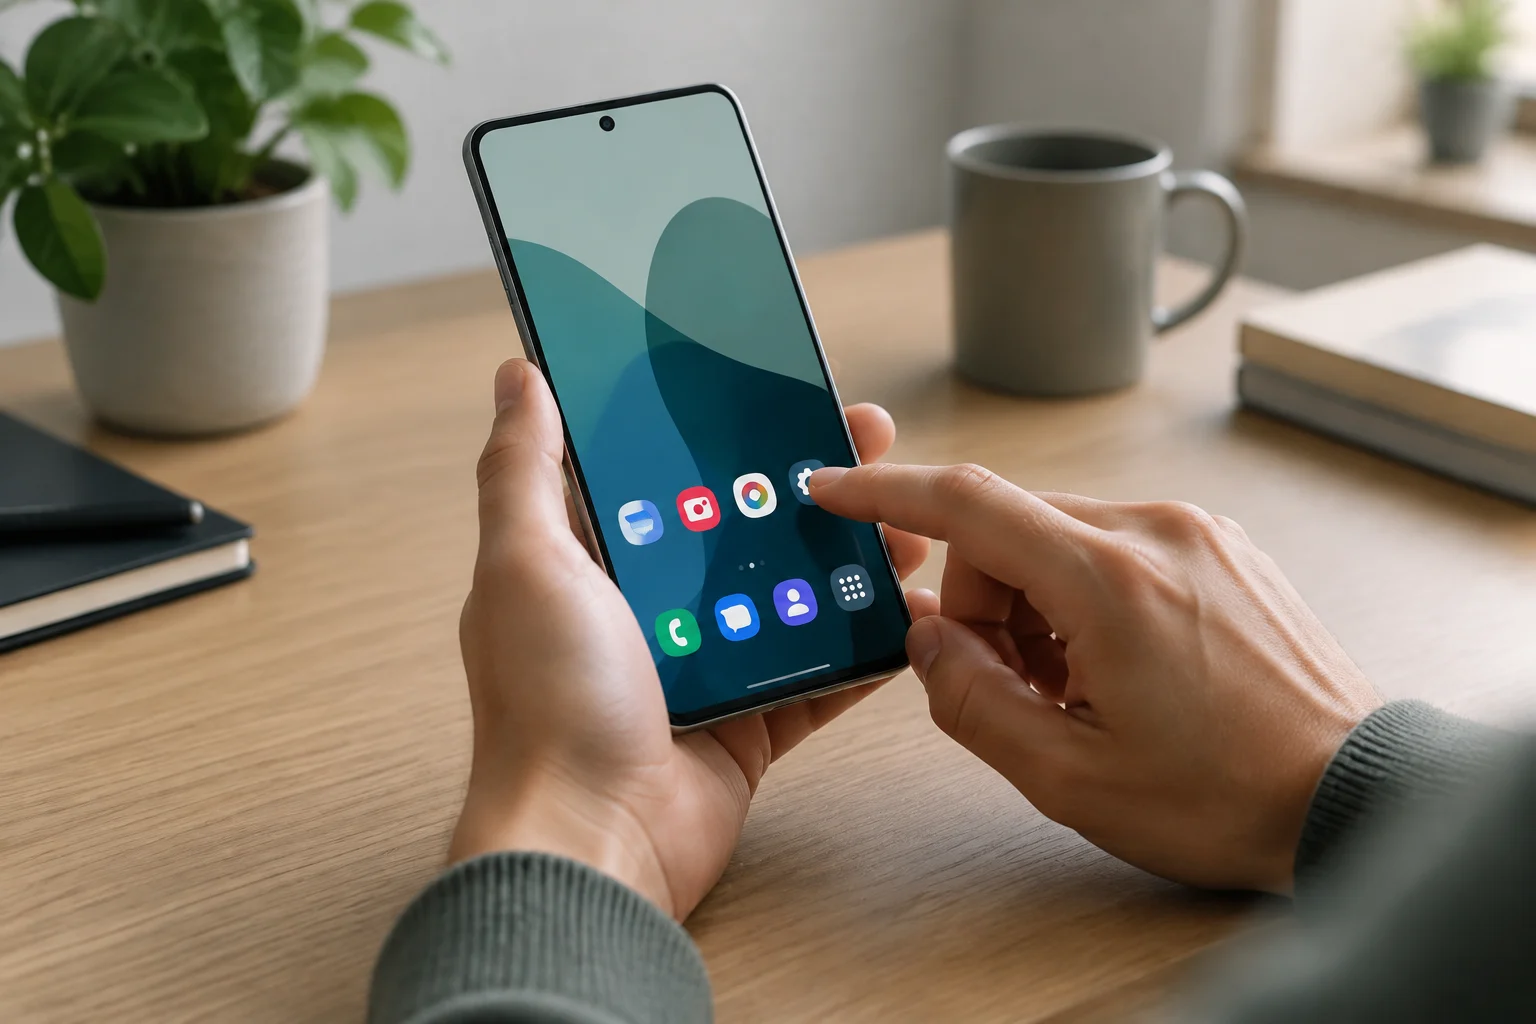
5. Review permissions and privacy options
An app may ask to access features such as the camera, microphone, contacts, photos, or location. Before allowing access, consider whether the permission is needed for the feature you plan to use. You can review or change permissions in Settings, on the app’s information page, or in the permission manager. On some devices, you can allow access to location, the camera, or the microphone only while using the app, or choose to be asked each time. Choose the most limited access that still works for you, and change it if a feature does not work as expected.
Camera and microphone may also have general controls in your device’s privacy settings. If you do not want an app to keep using a feature, review its permission; for the microphone or camera, also check whether your device offers global access controls. On certain devices and versions, Android can pause activity and remove permissions for apps you have not used. Review these controls from time to time, especially after installing a new app. Exact menu names and available options can vary by Android version and manufacturer.
6. Turn on backups and make a final check
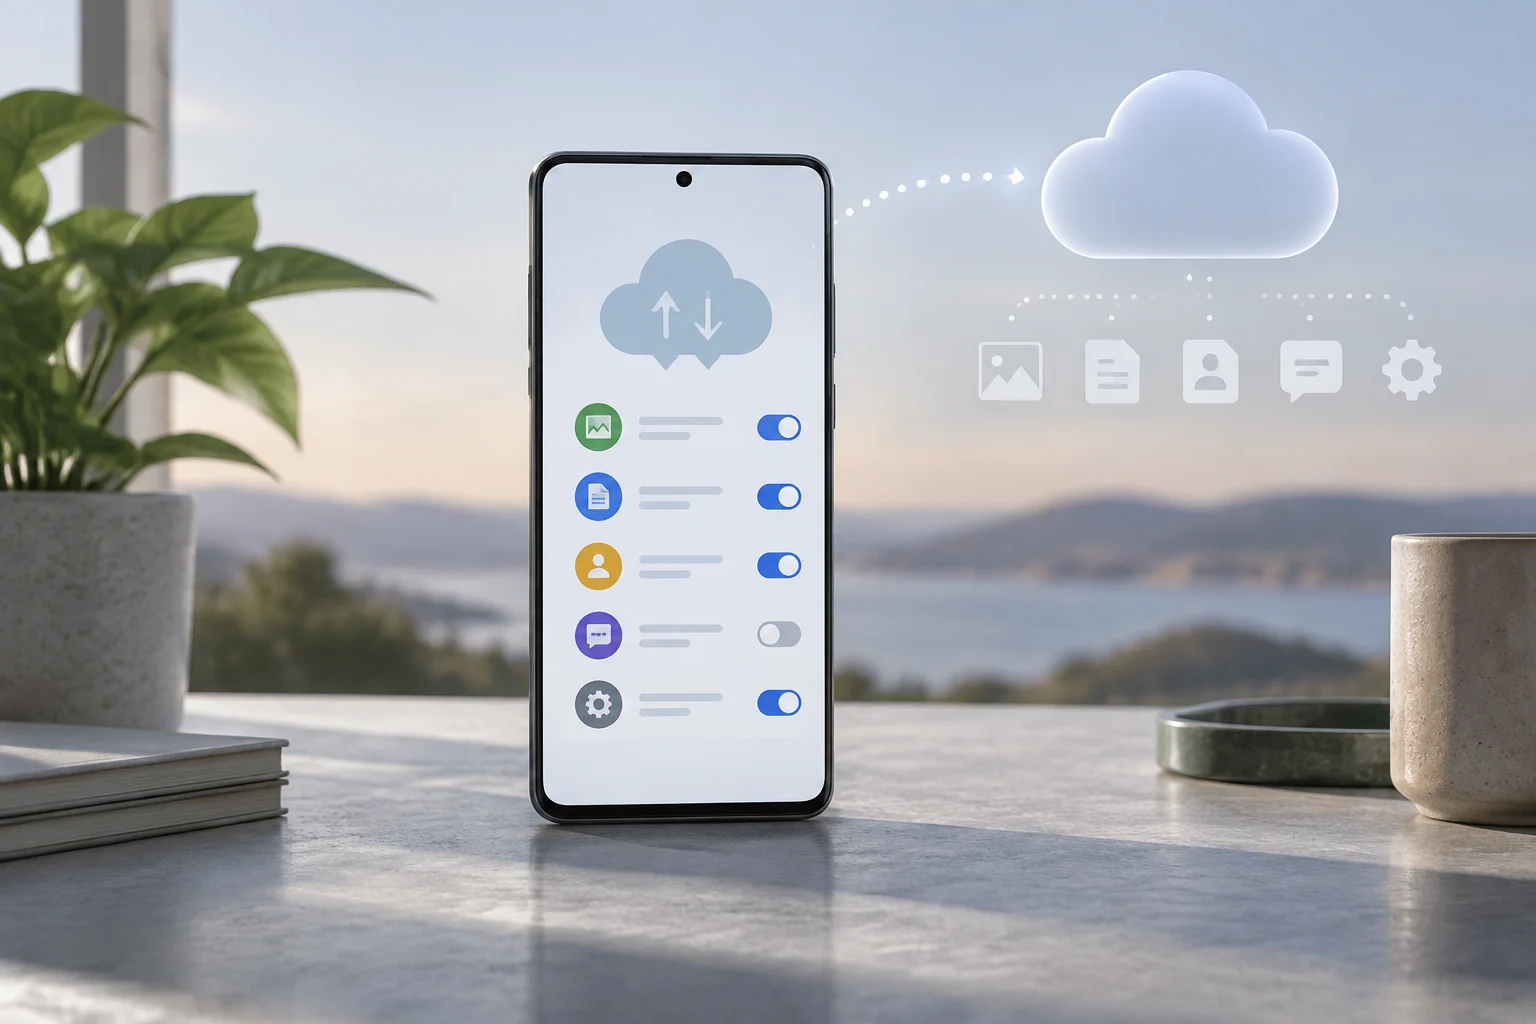
Open Settings, tap Google, then All services and Backup. Under “Backup details,” review which data and apps are included. A backup may cover device data, apps, contacts, settings, and messages, although not every app saves or restores all of its information. Check which account is selected and which items are listed as included. The first backup may take up to 24 hours; check that “On” appears below the selected data types before assuming the backup is complete.
Before finishing setup, test the essentials: connect to Wi-Fi, make sure you can unlock the phone, open the apps you need, and check that contacts and photos are where you expect them. If a connection fails, first check that Wi-Fi is on and reconnect to the network; if an app stops responding, try closing and reopening it. If storage is low, review it before deleting files. Avoid resetting the device as a first step: you could lose data that is not backed up. If the problem continues, consult the manufacturer’s help for your model and version.